Quick Start Guide
Follow this comprehensive guide to configure your GCXONE platform from initial login to full monitoring capability. Get your security operations center up and running in minutes.
Watch & Learn
Start with our comprehensive video guide covering the complete setup process
First-Time Login & Setup - Complete Walkthrough
Complete 4-minute walkthrough covering account registration, first login, security setup, and initial platform configuration.
Onboarding Workflow
Four simple steps to get your platform operational
1. First Login
Account setup & security
2. CMS Connection
Configure monitoring station
3. Build Database
Create hierarchy & users
4. Dashboard
Start monitoring

Before You Begin
Access Credentials
Provided by your administrator or received via email
Network Access
Access to *.nxgen.cloud domains
MFA App
Multi-factor authentication app (Google Authenticator, Authy, etc.)
Admin Privileges
Required if setting up CMS connections or user management
First Access & Security Setup
Secure your account and configure workspace
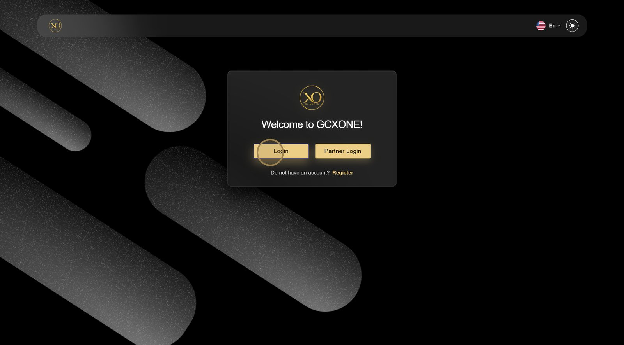
Navigate to Login Portal
Access the GCXONE platform at your organization's URL. If you don't have the URL, contact your administrator.
https://yourcompany.gcxone.cloudReplace 'yourcompany' with your organization's subdomain
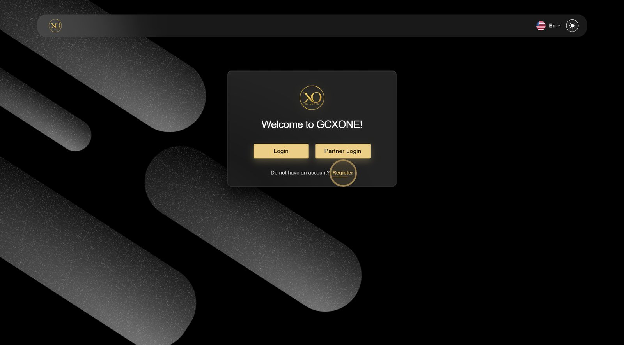
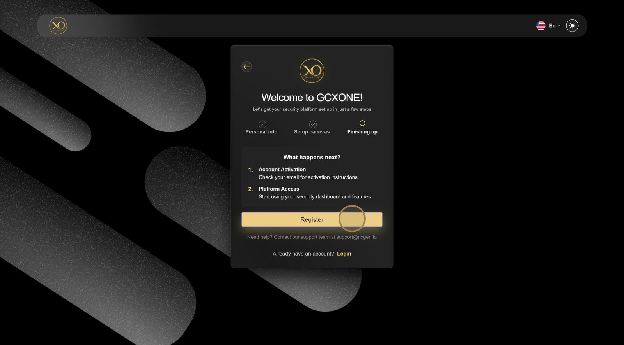
Account Registration
If this is your first time, click Register to create a new account. You'll need to provide your email, name, and organization details.
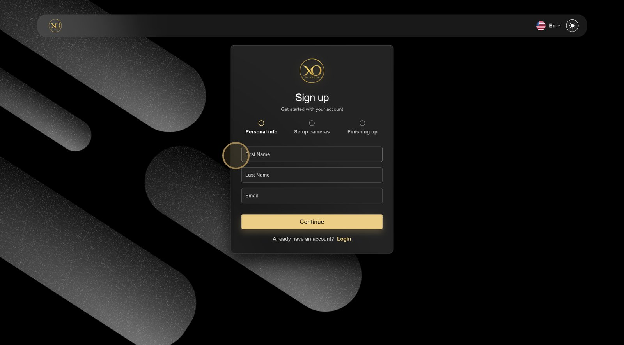
Enter Your Details
Fill in all required information including personal details and organization information.
Set Up Your Password
After registration, you'll receive a password reset email. Click the link and create a strong password.
Password Requirements:
- • Minimum 12 characters
- • Mix of uppercase, lowercase, numbers
- • At least one special character (!@#$%)
- • Not previously used
Enable Multi-Factor Authentication (MFA)
MFA adds an essential security layer protecting against unauthorized access. Highly recommended for all users.
Setup Steps:
- 1.Navigate to Account Settings → Security
- 2.Click "Enable Two-Factor Authentication"
- 3.Scan QR code with authenticator app
- 4.Enter 6-digit verification code
- 5.Save backup codes in secure location
Supported Apps:
Need More Help?
Detailed guide with screenshots and troubleshooting
CMS Connection Setup
Configure Central Monitoring Station for alarm routing
Choose Your Integration Method

Talos (Native)
RecommendedFull native integration with automatic site sync and bidirectional communication. Best for new deployments.
Configuration:
# Navigate to Settings → Integrations
# Select "Talos CMS"
# Enter your credentials:

Server URL: https://talos.yourcompany.com
API Token: [Generate from Talos Admin]
Auto-sync Sites: Enabled
Alarms route automatically after setup
External CMS (Bridge)
Lisa / AmwinConnect to third-party monitoring platforms via GCXONE Bridge using standard protocols (SIA DC-09, Contact ID).
Configuration:
# Install GCXONE Bridge (STOS)
# Configure alarm receiver:

Protocol: SIA DC-09
IP Address: [Bridge Server IP]
Port: 5000
Encryption: AES-256 (optional)
Account Format: [Your Site ID Format]
View Bridge Setup Guide →
Testing Your Connection
Build Your Database
Create organizational hierarchy and user structure
Database Structure

Company / Customer Groups
Top-level organizational entities representing your customers or business units
# Example Structure:
- Acme Security (Parent Company)
  └── Acme Retail Division
  └── Acme Industrial Division
  └── Acme Residential Division
Sites / Locations
Physical locations within each customer where devices are deployed
# Example Sites:
- Store #101 - Downtown Branch
  Address: 123 Main St, City
  Devices: 12 cameras, 3 sensors
  GPS: 40.7128° N, 74.0060° W

- Warehouse A - North Campus
  Address: 456 Industrial Way
  Devices: 24 cameras, 8 sensors
  GPS: 40.7589° N, 73.9851° W
Users & Permissions
Assign users with role-based access control (RBAC)
Dashboard Overview
Understand your monitoring interface

Active Sites Widget
Real-time count of connected and monitoring locations
- Live connection status
- Health indicators
- Quick filters
- Site grouping
Alarm Volume Chart
Visual analytics of alarm trends over time
- 24-hour trends
- Type breakdown
- Comparative analysis
- Export reports
Device Status
Overview of all connected hardware
- Online/offline counts
- Lifecheck status
- Quick diagnostics
- Device health
Customizable Widgets
Tailor dashboard to your role and needs
- Drag & drop layout
- Role-specific views
- Save preferences
- Multiple dashboards
🎉 You're All Set!
Your GCXONE platform is fully configured and ready for monitoring operations.
Next step: Connect your first device to start receiving and processing alarms. Check out our device integration guides to get started.
What's Next?
Continue your journey with these recommended guides
Device Integration
Learn how to connect your first IP camera, sensor, or other security device to GCXONE
Platform Overview
Explore the full capabilities of GCXONE including features, integrations, and advanced configurations
Getting Started Hub
Access all getting started guides, tutorials, and role-based documentation
Need Additional Help?
Our support team is here to help. Check out our troubleshooting guides or contact support for assistance.