Uniview Installer Configuration
This guide provides step-by-step instructions for configuring Uniview IP cameras to integrate with GCXONE. Follow these steps to ensure proper network configuration, time synchronization, alarm management, and device connectivity.
Configuration
Step-by-Step
Prerequisites
Before You Begin
- ✅ Administrative access to Uniview device configuration
- ✅ Network connectivity to device
- ✅ Proper firewall configuration for device communication
Step 1: Network Configuration
Step 1: Network Configuration
UI path: Uniview Device → Network Settings
Configuration Steps
- Set up the client's network settings so it can communicate with other devices or servers
- Configure IP address (static or DHCP), subnet mask, default gateway, DNS servers, and possibly proxy settings
- Proper network configuration ensures the client device can access local network resources and the internet securely and reliably

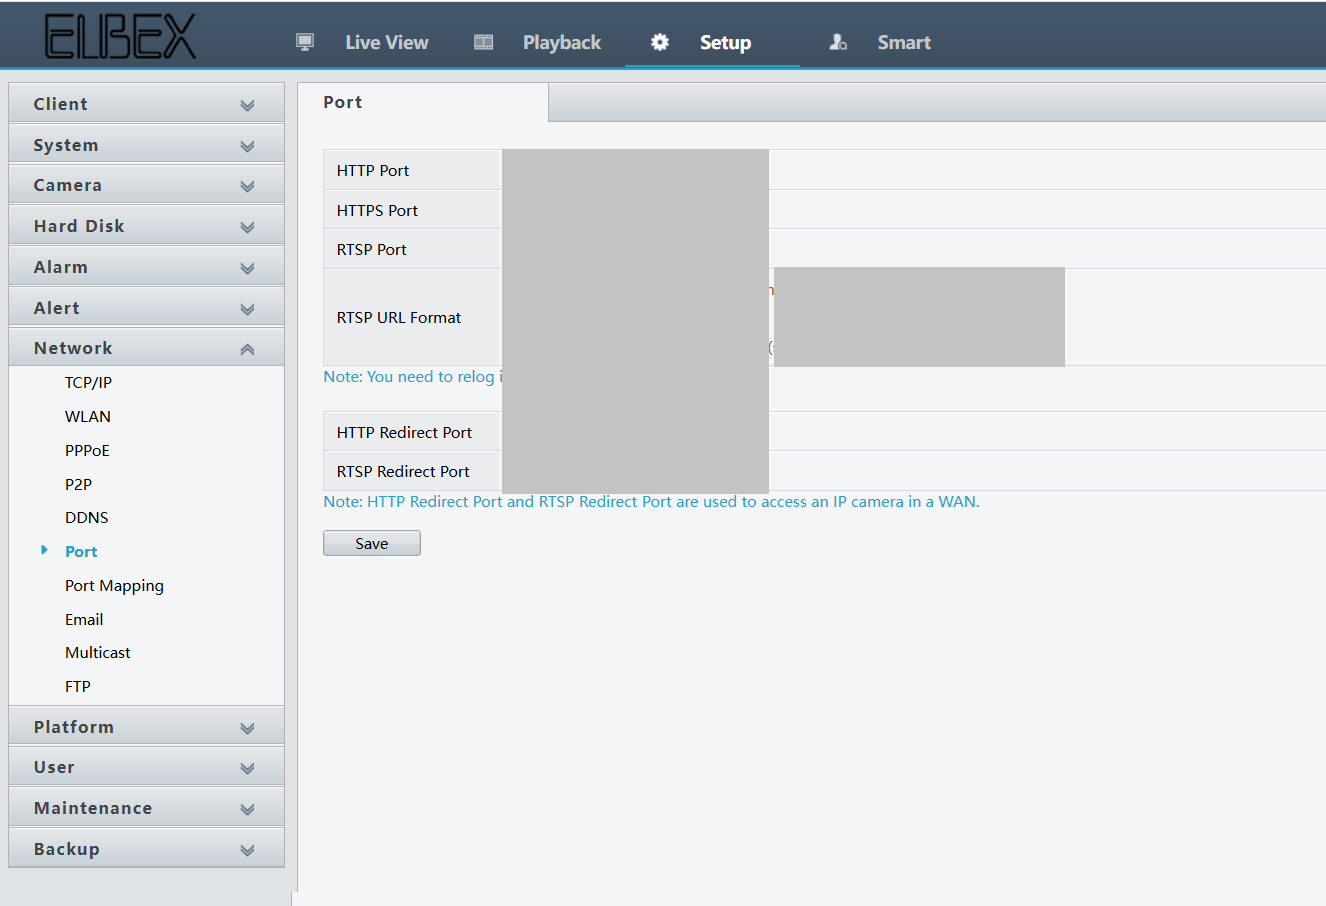
Expected result: Network connectivity established for device communication
Step 2: Time Configuration
Step 2: Time Configuration
UI path: Uniview Device → Time Settings
Configuration Steps
- Set the correct time, date, and time zone on the client device
- Time synchronization is often handled via NTP (Network Time Protocol) servers
- Accurate time configuration is crucial for logging, security protocols (like SSL/TLS), and scheduled tasks to function correctly
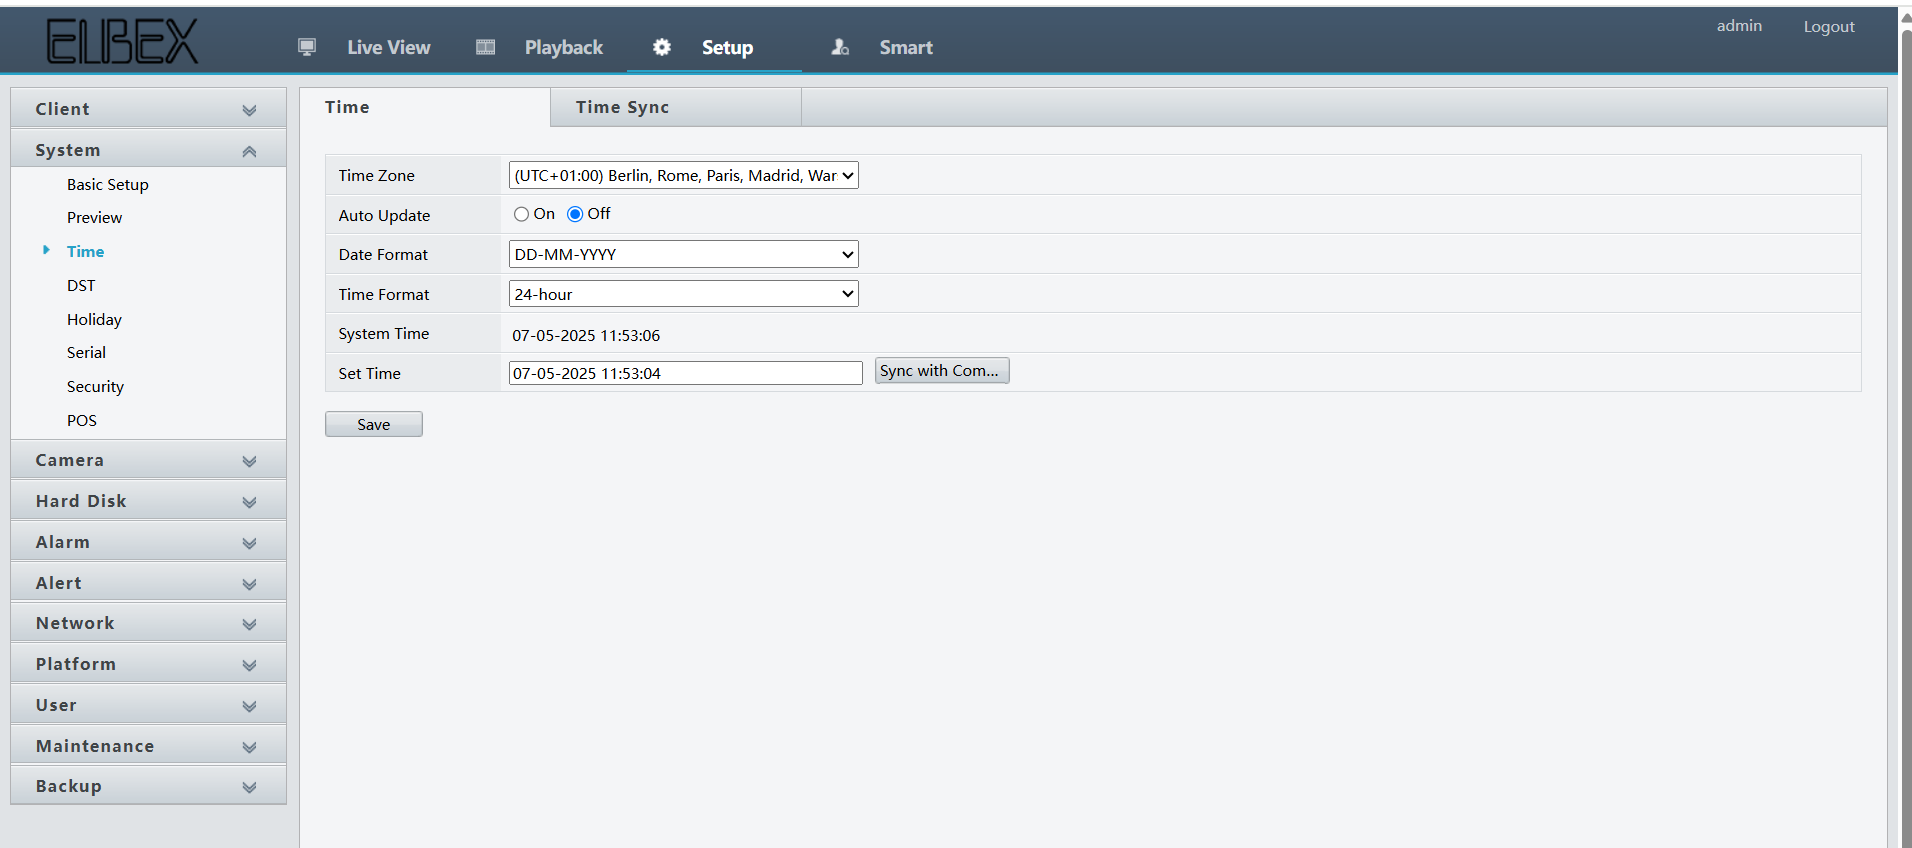
Important: Time synchronization via NTP servers is crucial for accurate logging and security protocols. Ensure NTP is properly configured.
Expected result: Time synchronization configured with NTP servers
Step 3: Alarm Configuration
Step 3: Alarm Configuration
UI path: Uniview Device → Alarm Settings
Configuration Steps
- Alarm configuration allows the client device to generate alerts or notifications based on certain events or conditions, such as system failures, high resource usage, or connectivity issues
- These alarms can be set to trigger visual indicators, sounds, or even send notifications via email or SMS, depending on the system's capabilities
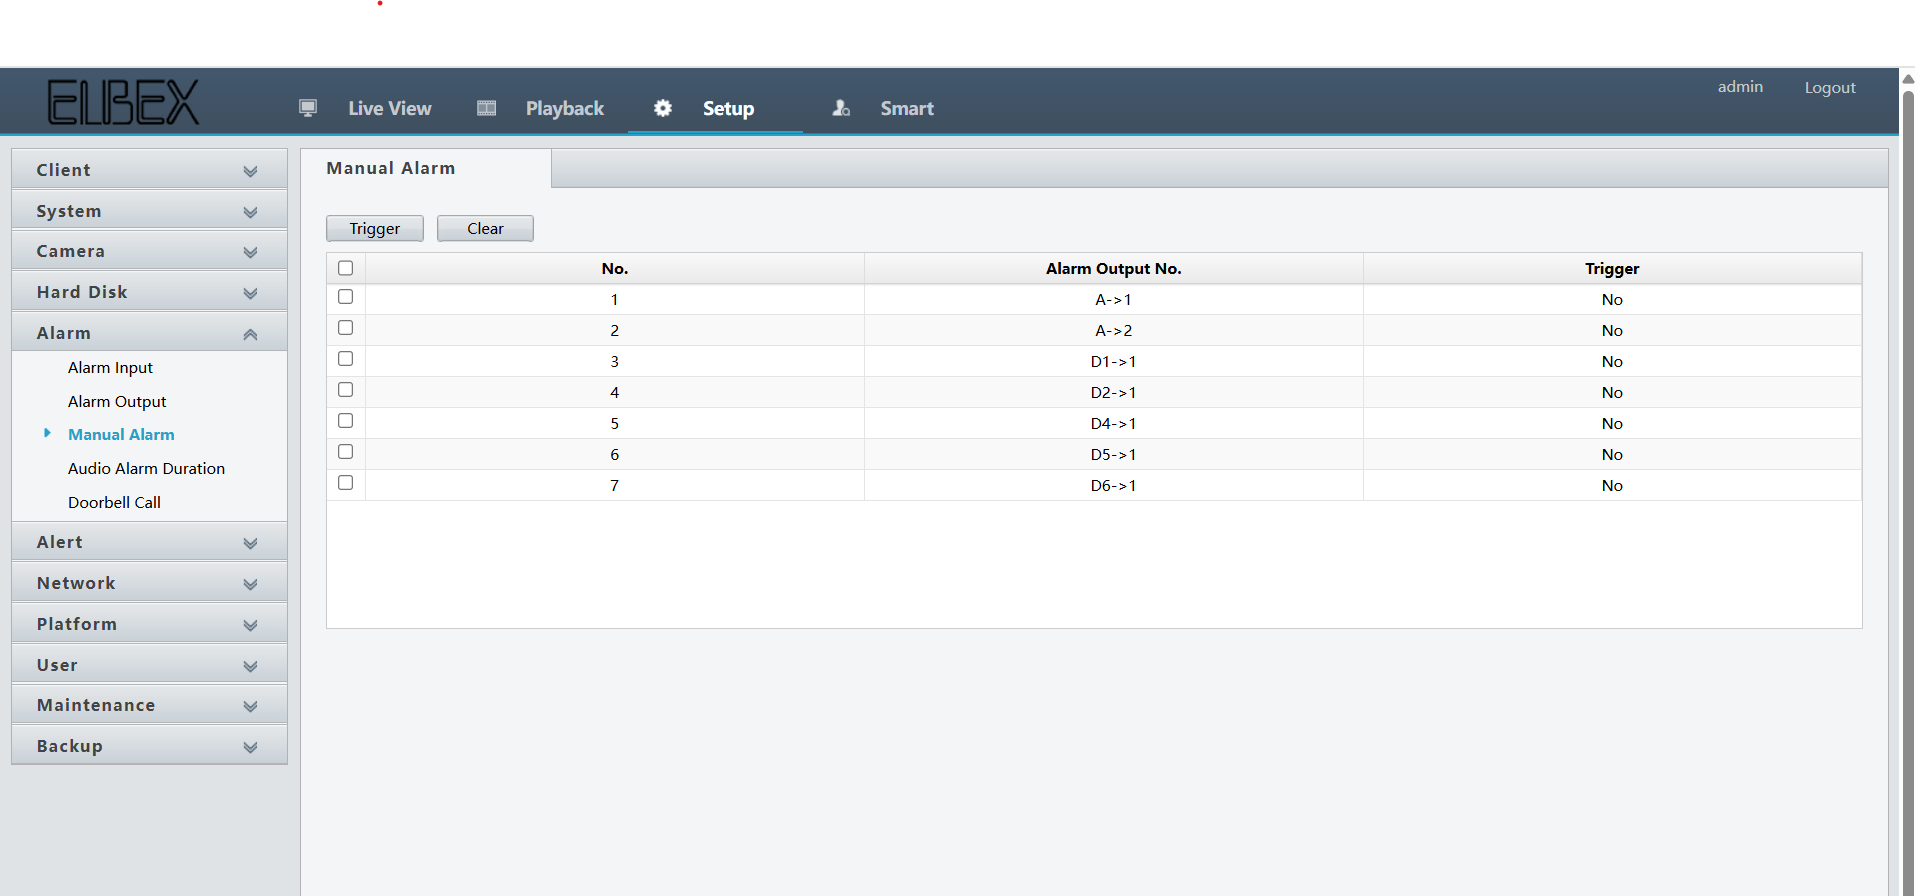
Expected result: Alarm notifications configured for event detection
Step 4: Basic Setup
Step 4: Basic Setup
UI path: Uniview Device → Basic Settings
Configuration Steps
- Basic setup refers to the initial configuration of the client device to prepare it for operation
This can include:
- Language and region settings
- Setting up user accounts
- Installing essential software
- Configuring input/output devices
- Performing initial security configurations (like enabling firewalls or antivirus)
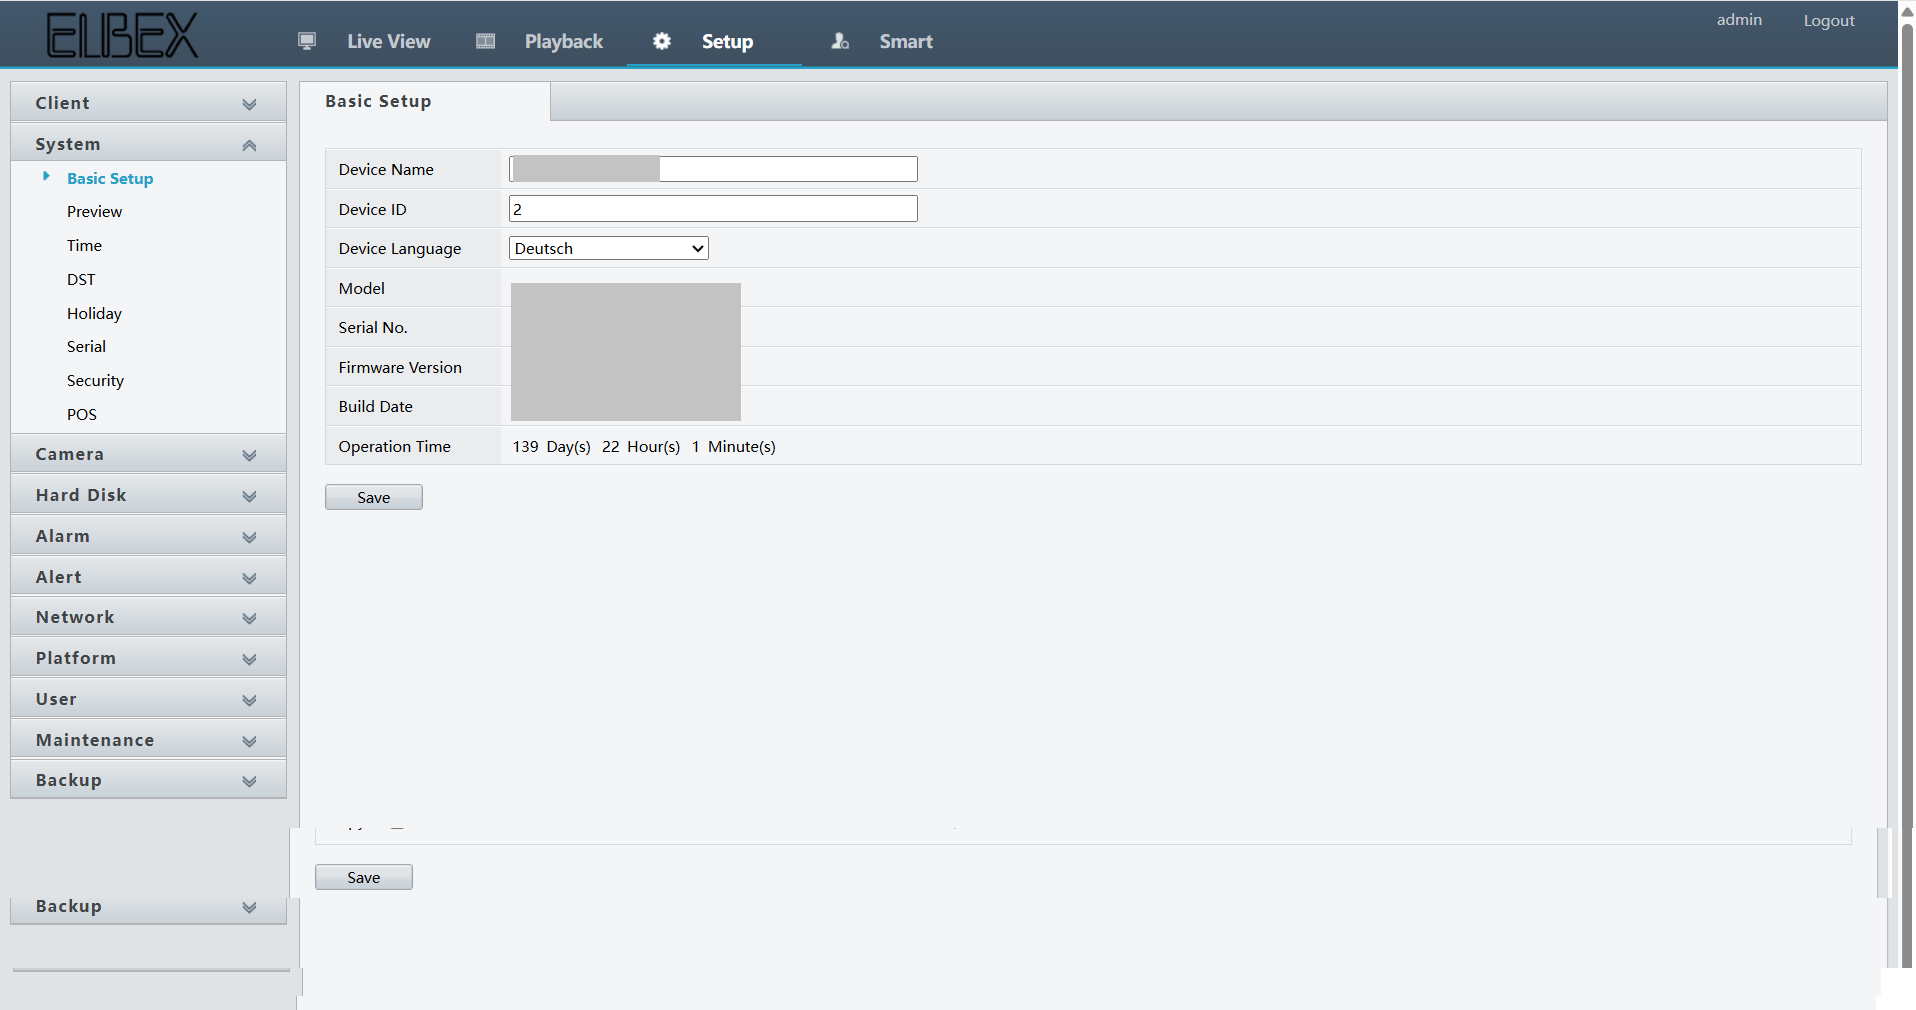
Expected result: Basic device configuration completed
Step 5: Configure Device in GCXONE
Step 5: Configure Device in GCXONE
UI path: GCXONE → Configuration App → Site → Devices → Add
Configuration Steps
- Login to GCXONE
- Navigate to configuration app
- Navigate to Site → Devices → Add
- Provide the mandatory details
- Click on Discover
- Click Save
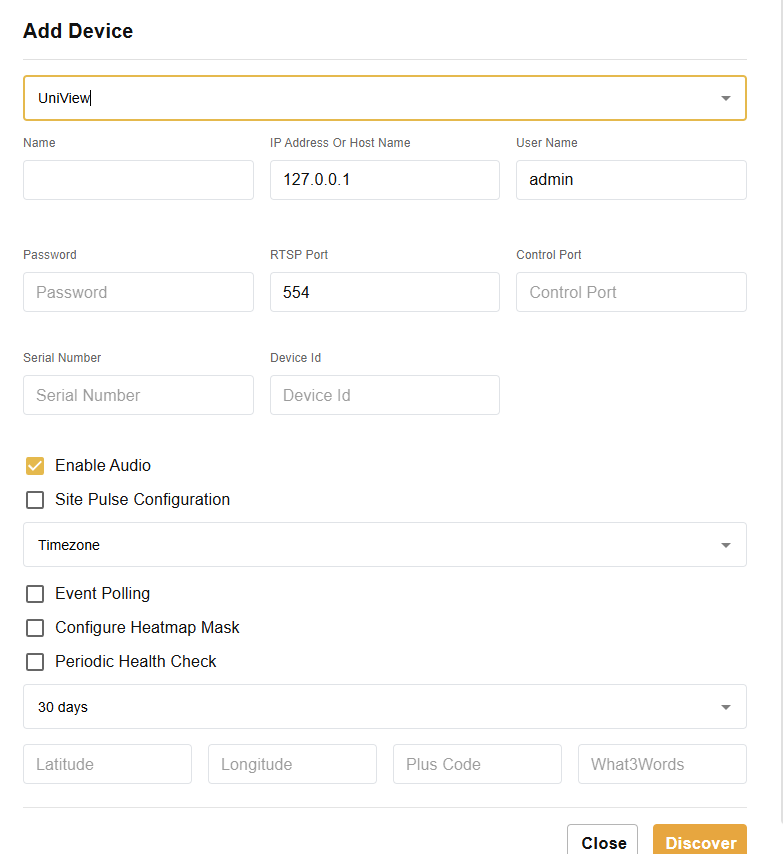
Expected result: Uniview device successfully added and discovered in GCXONE
Step 6: Verify Integration
Step 6: Verify Integration
Verification Checks
- ✅ Verify network connectivity is working
- ✅ Test time synchronization with NTP servers
- ✅ Confirm alarm notifications are functioning
- ✅ Check basic settings are properly applied
- ✅ Verify device discovery in GCXONE
Expected result: Complete Uniview integration with GCXONE platform
Troubleshooting
Common Issues and Solutions
- Network Connectivity Issues
- Time Synchronization Problems
- Alarm Configuration Issues
- Basic Setup Problems
- GCXONE Integration Issues
- Verify IP address, subnet mask, and gateway configuration
- Check DNS server settings
- Ensure proxy settings are correct if applicable
- Test local network access and internet connectivity
- Verify NTP server is reachable
- Check time zone settings
- Ensure network connectivity allows NTP traffic
- Confirm accurate time configuration for logging and security
- Check alarm trigger conditions and thresholds
- Verify notification methods (email, SMS) are properly configured
- Test alarm generation for various event conditions
- Ensure visual and audio indicators are working
- Verify language and region settings
- Check user account configuration
- Ensure security configurations (firewall, antivirus) are properly set
- Confirm input/output device configurations
- Verify device credentials and connection details
- Check device discovery process
- Ensure proper network connectivity between device and GCXONE
- Confirm device compatibility with GCXONE platform
Related Articles
Need Help?
If you're experiencing issues during configuration, check our Troubleshooting Guide or contact support.