AJAX
Introduction
GCXONE supports AJAX integration for centralized alarm reception. AJAX hubs containing NVRs, intrusion panels, and other alarm-triggering objects can be integrated with GCXONE for centralized alarm management.
-
- Supported Device Types:
- AJAX Hub
- AJAX NVR
- Supported Functionality:
- Discovery
- Alarm reception only - no live streaming, playback, or PTZ features
- Alarm Transmission Protocol:
- SIA (Security Industry Association Protocol)
AJAX Hub / AJAX NVR:
- The AJAX Hub acts as a container for multiple alarm objects such as intrusion panels, NVRs, and other sensors.
- In GCXONE, you can add either:
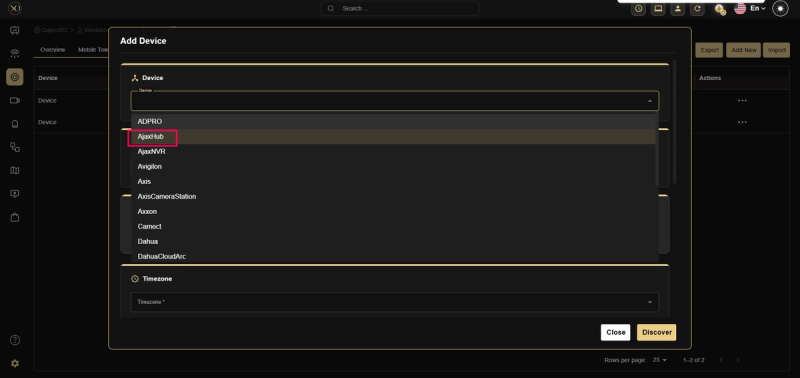
- AJAX Hub: For AJAX manufactured cameras
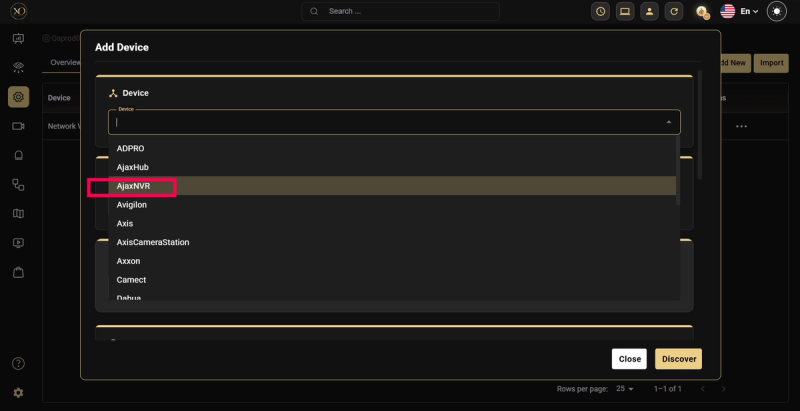
- AJAX NVR: For third-party cameras
All alarms from Hub or NVR objects are received collectively under this device in GCXONE.
Step 1: Invite NXGEN Technologies to Your Hub
Before adding your AJAX device in GCXONE, you must invite NXGEN Technologies to your AJAX Hub. This allows GCXONE to verify and connect to your Hub or NVR.
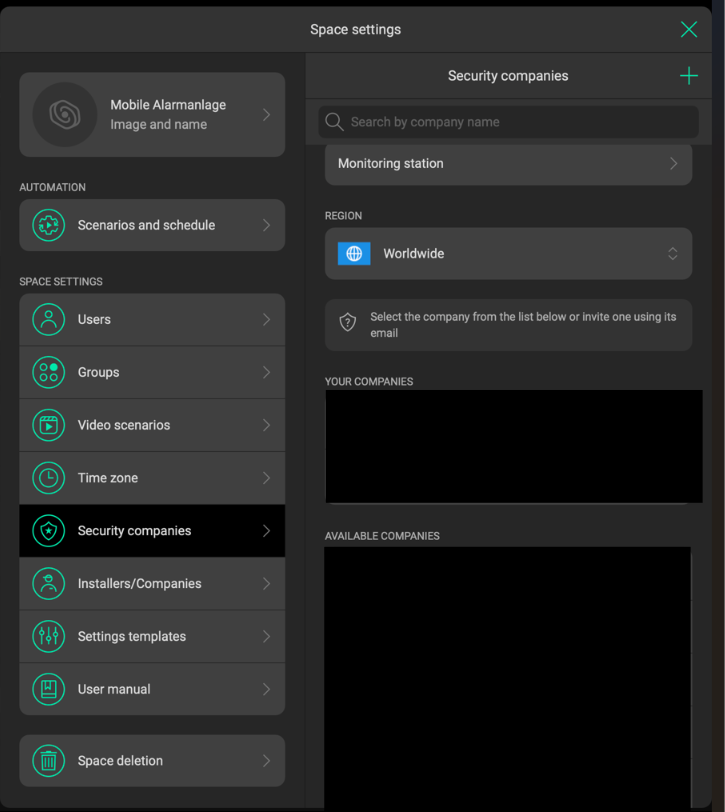
- Open AJAX PRO Desktop.
- Navigate to: Space Settings → Security Companies → Invite via Email
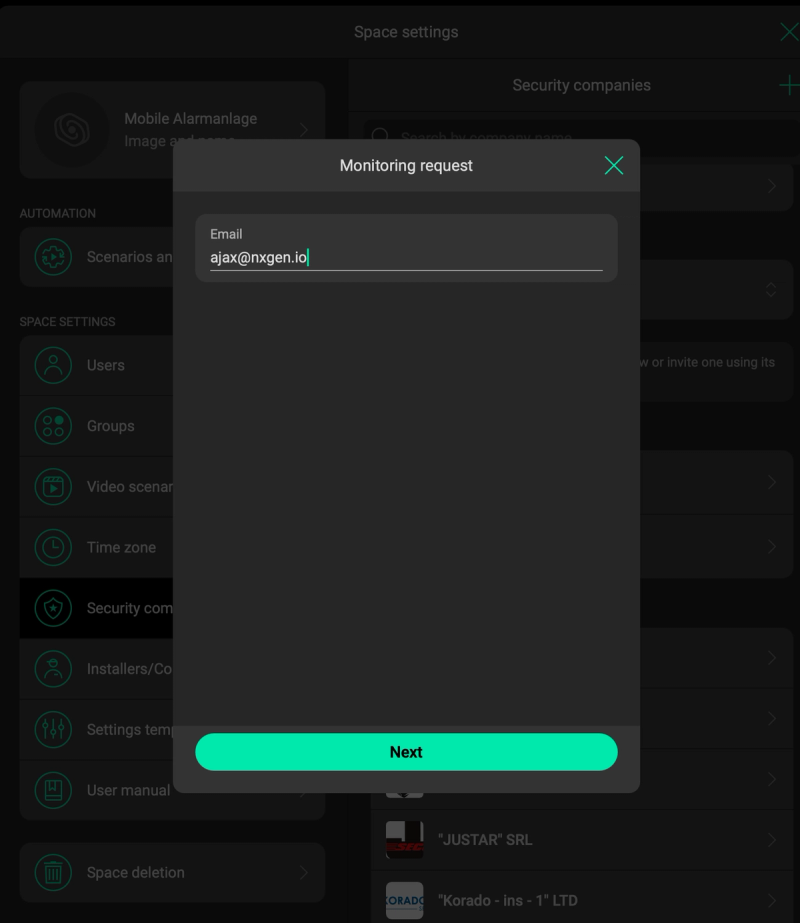
- Enter the invitation email:
Ajax@nxgen.io - Send the invitation and confirm it is accepted by NXGEN Technologies before proceeding to the next step.
Step 2: Add Your AJAX Device in GCXONE
-
Obtain Hub ID or Device ID
-
Hub ID is required for adding an AJAX Hub
-
Device ID is required for adding an AJAX NVR
Both must be collected from the AJAX client application specific to the customer's Hub
**Important: **When entering the Hub ID or Device ID, GCXONE performs an existence check using the NXGEN API key.
- Add AJAX Device in GCXONE
step 1: Navigate to the Devices tab
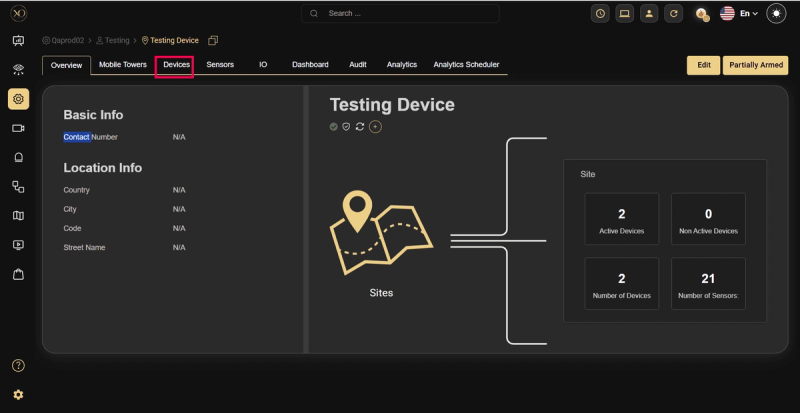
step 2: Click the Add button
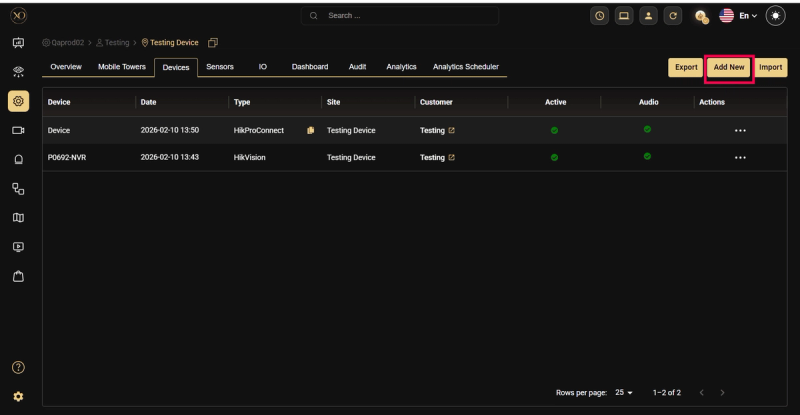
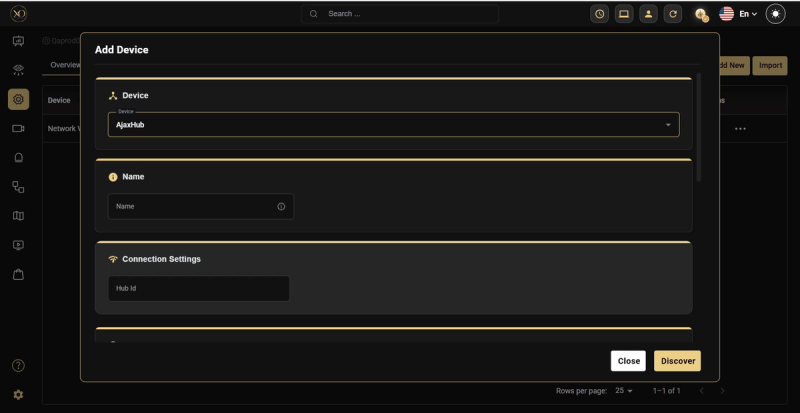
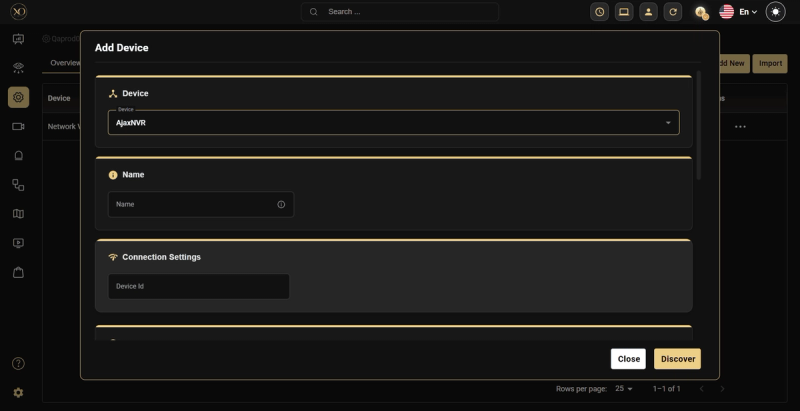
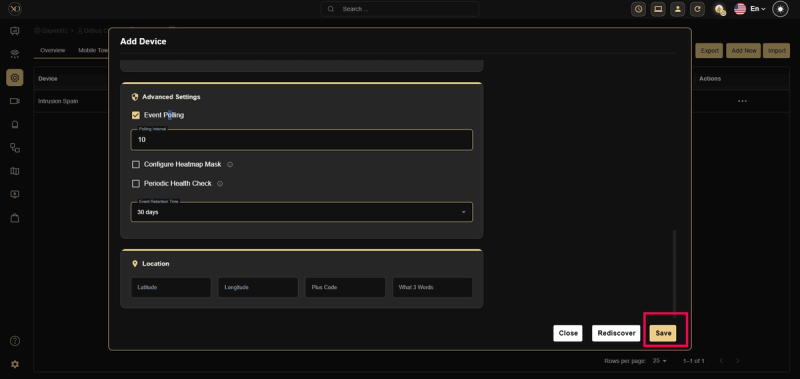
step 3: The Add Device dialog will appear
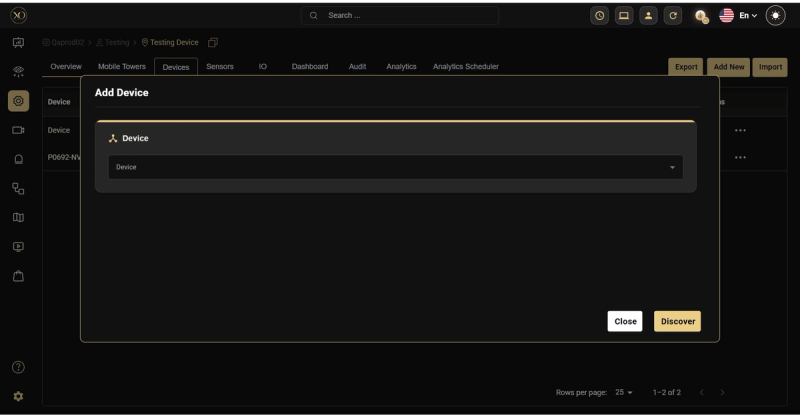
step 4: Select the Device Type (AJAX Hub or AJAX NVR) and enter the Hub ID or Device ID
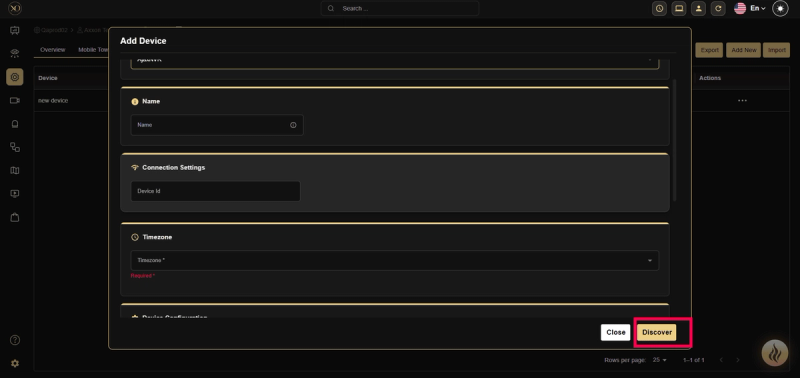
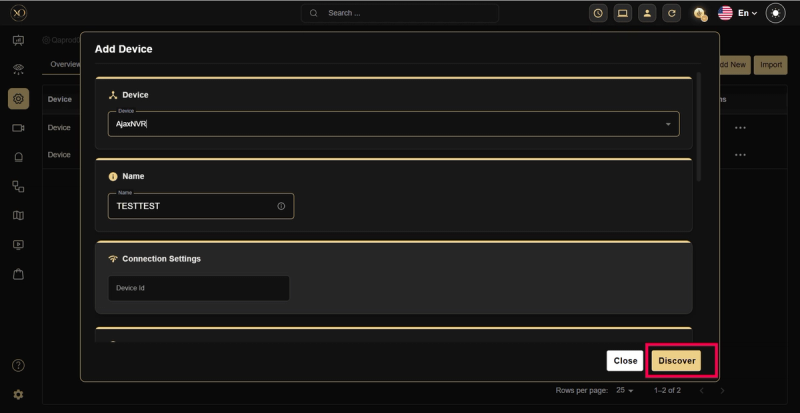
step 5: Fill in the remaining required fields: Name and Timezone
step 6: Click Discover
-
The platform will connect to and verify the Hub or NVR.
-
On success:
-
For Hub: All devices associated with the Hub will be automatically fetched and displayed
-
For NVR: All cameras associated with the NVR will be automatically fetched and displayed
-
Review the discovered devices or cameras and confirm the details.
step 7: Once the device is discovered, click Save
- Configure SIA Alarm Receiver (AJAX Client)
After adding the device:
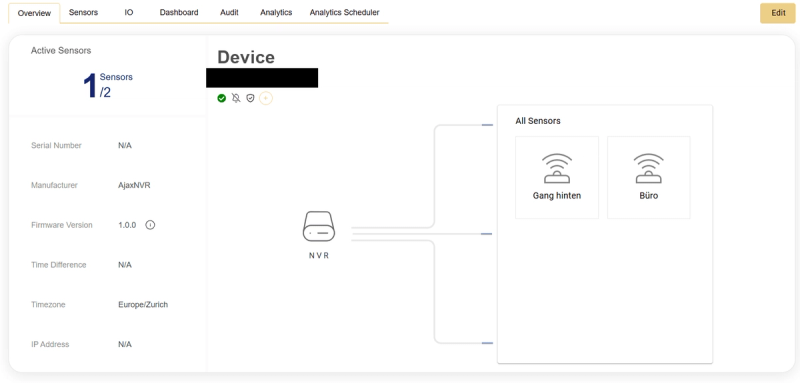
- Locate your newly registered AJAX device in the device list
- Click the View button beside the device
- On the device overview page, the required SIA configuration information will be displayed.
- Configure the Receiver in AJAX PRO Desktop
- Receiver IP/PORT: Configure at Company Level in the AJAX client
- Encryption Key: Configure at Company Level in the AJAX client
- Account Number: Configure at Object Level in the AJAX client for the Hub or relevant alarm object
- Open AJAX PRO Desktop.
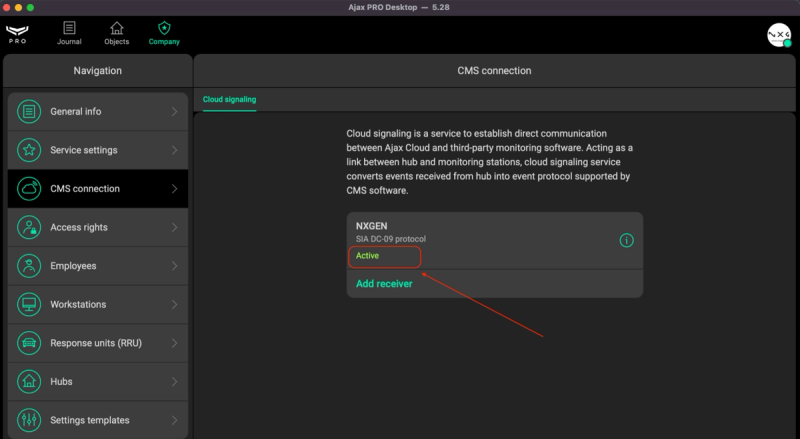
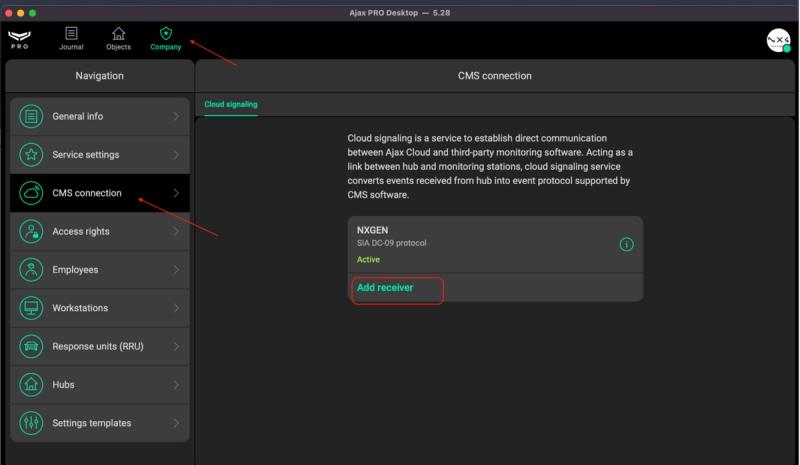
- Navigate to: Company → CMS connection → Add Receiver
- Enter the receiver details obtained from GCXONE: IP/hostname, port, and encryption key. Set Protocol to
SIA DC-09(pre-selected by default). - If using encrypted communication, enable encryption and enter the exact encryption key from GCXONE.
- Click Save.
Step 3: Enable the Receiver & Map Account Numbers
Once the receiver is added in AJAX PRO Desktop, enable it and map the account number for each device you want to monitor.
-
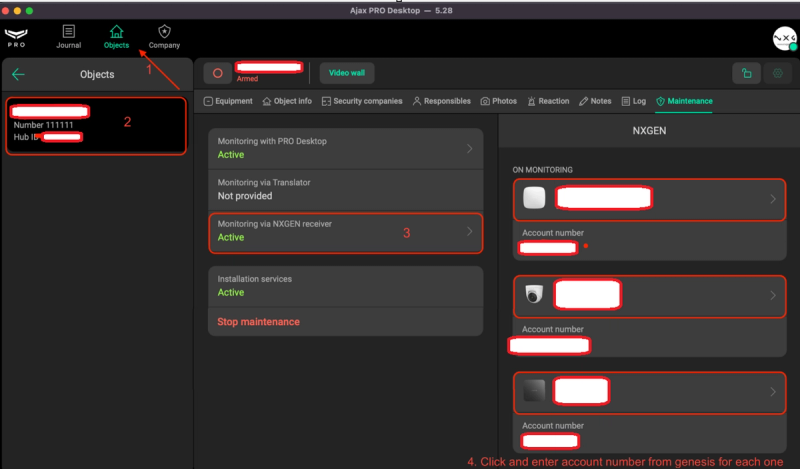
Go to the Objects section in AJAX PRO Desktop.
-
Click the Object from which you want to monitor events.
-
Open the Maintenance tab.
-
Find the Monitoring via {receiverName} option, replacing {receiverName} with the name you set in the previous step.
-
On the right panel, a list of all Hub and NVR devices associated with this object will appear.
-
Select the device you want to monitor and enter the Account Number as shown in the GCXONE device overview page.
-
Ensure that Format is set to
ADM-CID.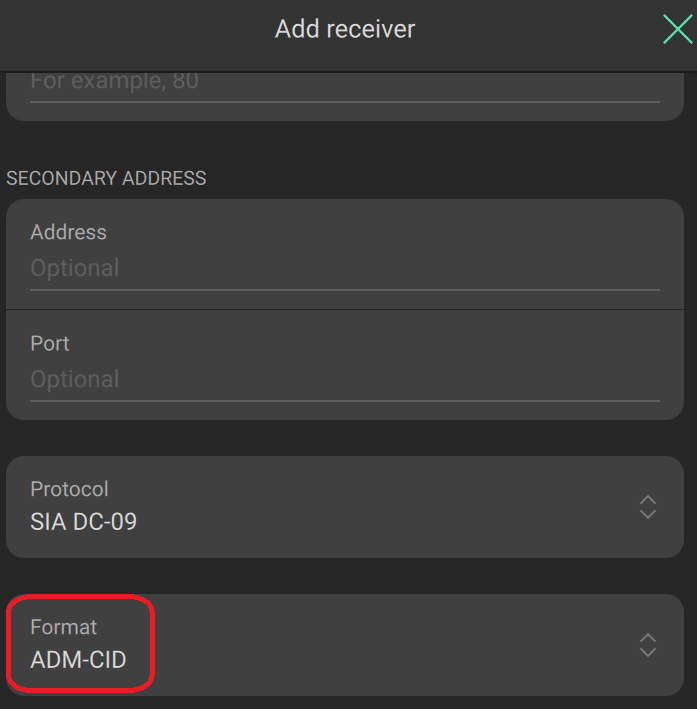
-
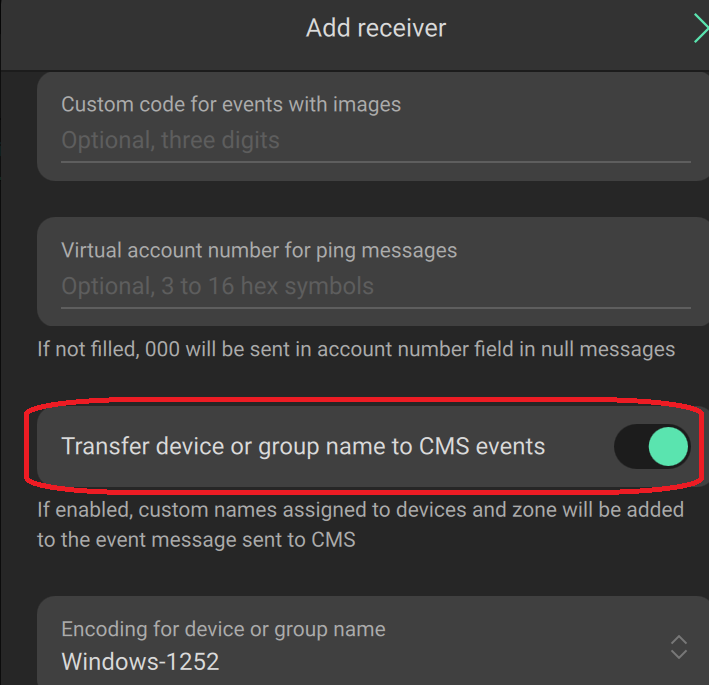
Enable Transfer device or group name to CMS events and click Save.
Verification
- Verify that the receiver status in AJAX PRO Desktop is active.
- Trigger a test event on your AJAX device.
- Confirm that the alert appears in GCXONE. Once verified, your AJAX device is fully integrated and live alarm events will be received in GCXONE.