Hik-ProConnect Device
Introduction
This guide describes the steps required to obtain your Hik-ProConnect ARC credentials and onboard a Hik-ProConnect device into the GCX-ONE platform. It also covers troubleshooting and verification using the Hik-ProConnect TestClient.
Hik Pro Connect Configuration
Hik Pro Connect - To obtain the Arc ID and Key of the Service provider
-
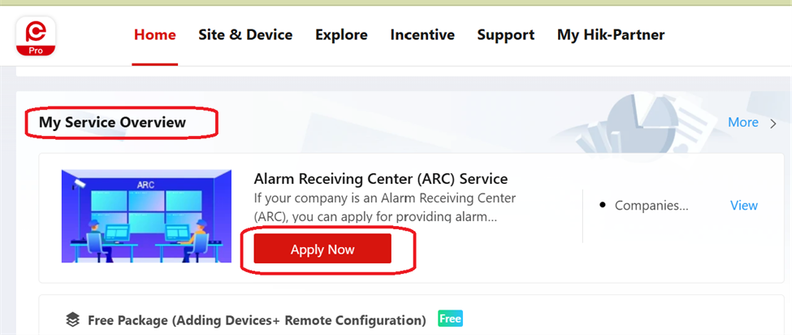
Login into Hik Partner Pro Account - Ensure that you are registered as a ARC
-
Navigate to Home -> My Service Overview -> Apply Now
-
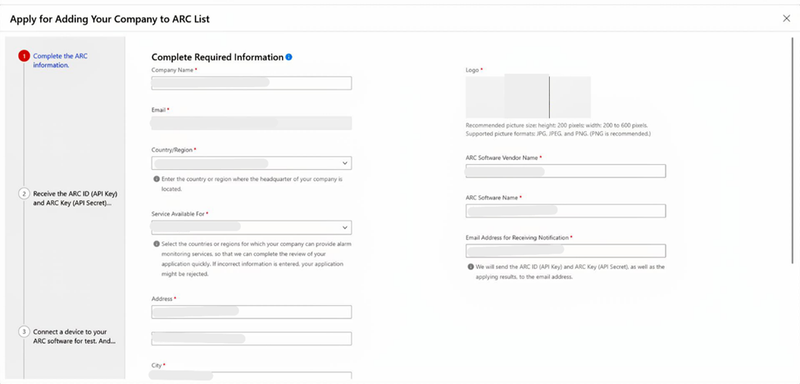
Continue to Edit the ARC details (Not required to Edit the ARC information if there is no change)
-
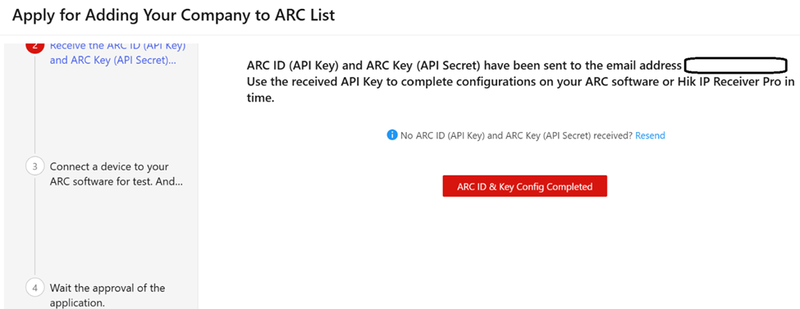
At the End of Step 2 Arc ID and Key will be sent to the registered Email ID.
-
Please forward the Arc ID and Key in the e-mail to Nxgen team to configure the tenant
Hik-ProConnect Config Guide with GCX-ONE
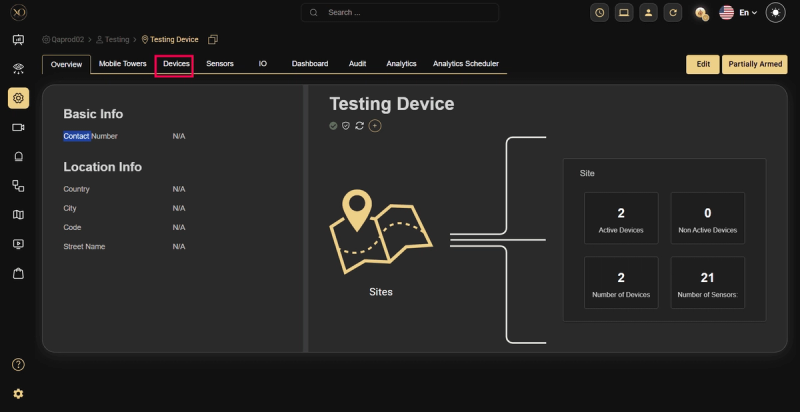
Step 1: Navigate to the Devices tab.
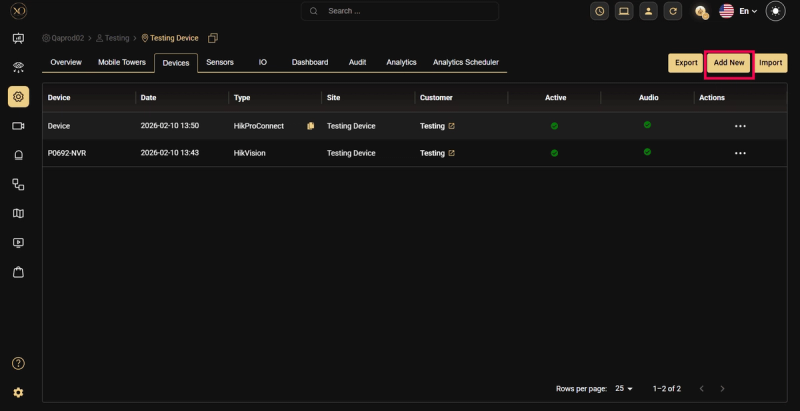
Step 2: Click the Add button.
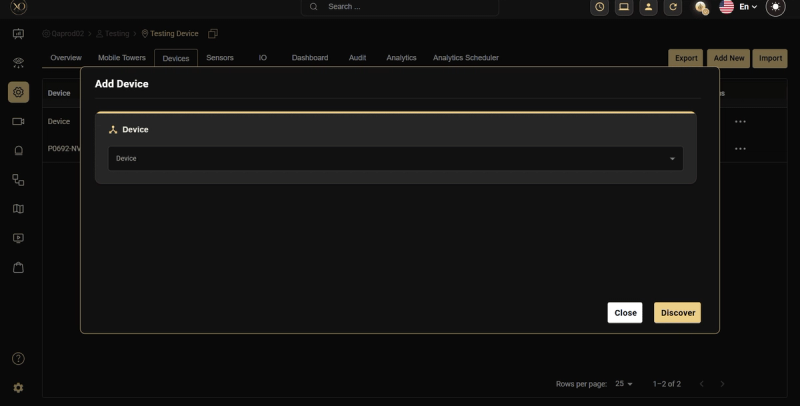
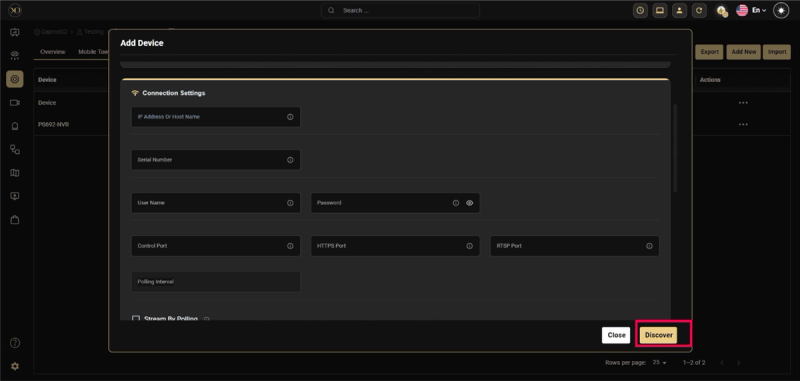
Step 3: The Add Device dialog will be displayed.
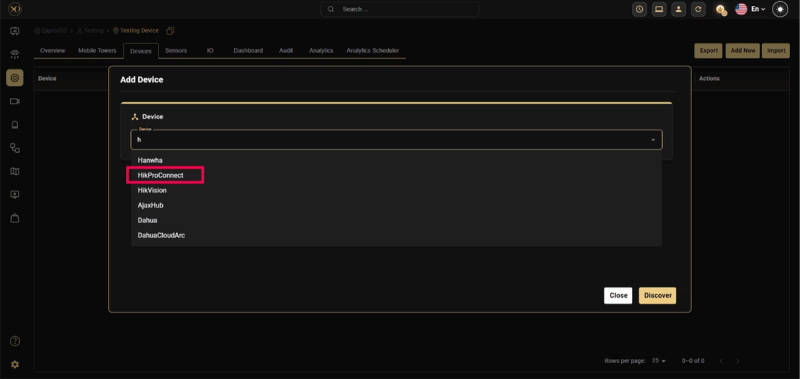
Step 4: In the dialog, open the Device dropdown and select Hik-ProConnect.
Step 5: Enter all required fields: Name, Serial Number, Encryption Key, Timezone.
Step 6: Enter Discover.
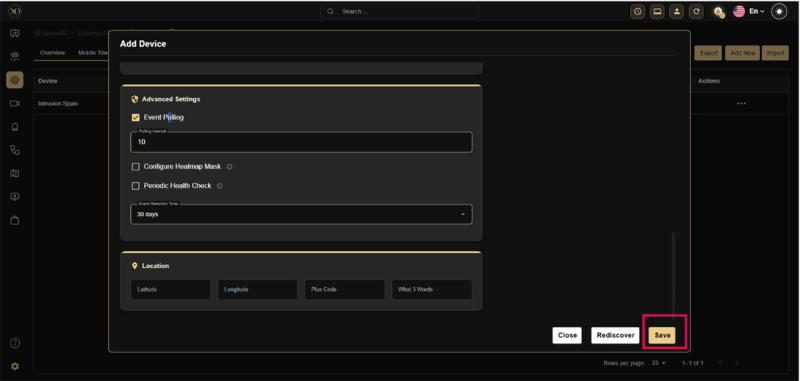
Step 7: Once the device is successfully discovered, click Save.
To ensure that alarms are successfully received in GCXONE, please follow the two steps below:
Step 1: Verify the connection between Hikvision and Hik-ProConnect
-
Go to Site & Device.
-
Navigate to Site → Customer Site.
-
Log in to the Site settings.
-
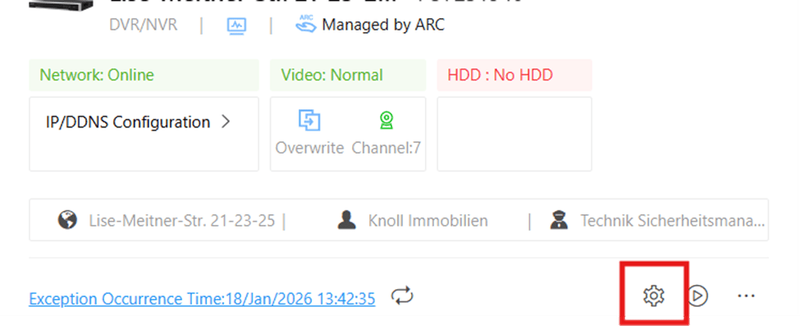
Select DVR/NVR and click OK.
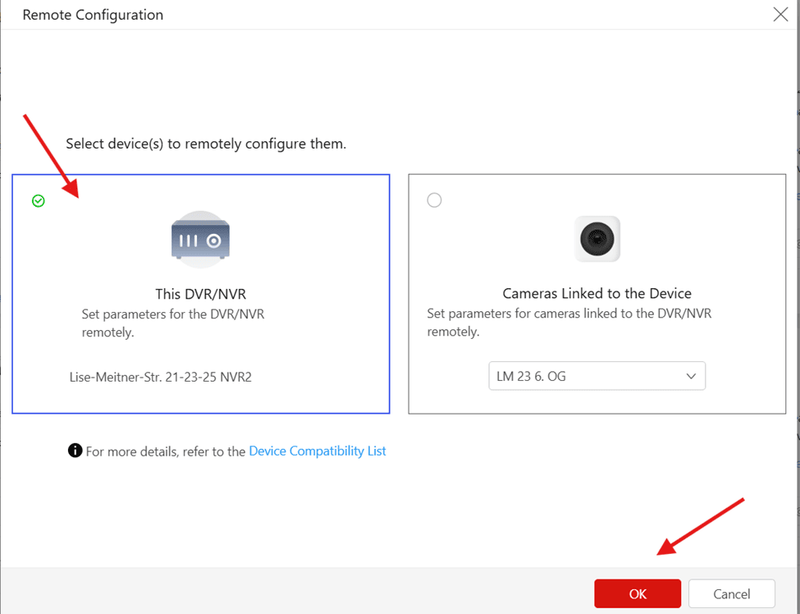
-
You will be redirected to the Hikvision page.
The first check is to confirm that alarms are successfully transmitted from Hikvision to Hik-ProConnect and then to our platform.
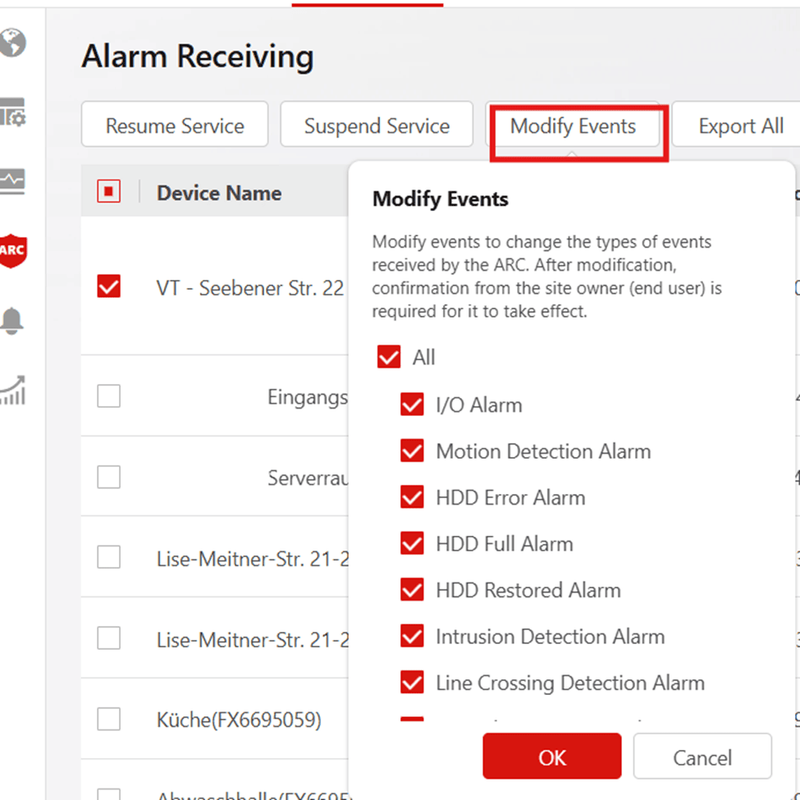
Step 2: Verify alarm receiving settings
- Go to Site & Device.
- Navigate to ARC Service → Alarm Receiving.
- Select the device.
- Click on Modify Events.
- Ensure that all required event options are selected.