Axis IP Camera
Introduction
This guide describes the steps required to configure AXIS IP cameras for integration with the GCX-ONE platform. It covers user setup, event recipients, alert rules, and device onboarding.
Prerequisites
Before you begin the configuration process, ensure the following prerequisites are met:
- Site Configuration: The site where the device will be added is already configured in GCX-ONE.
- Set up a user: An admin user with the necessary permissions is configured.
- Control Port: The control port is open (default is 80, unless changed).
Setting up a User Name and password for NXGEN team
Step 1: Log in to the AXIS IP Camera.
- Open your web browser and enter the IP address of the Axis Camera into the URL bar.
- Press "Enter" to navigate to the camera's login page.
- Enter your username and password.
- Click "Login" to access the camera’s settings.
Step 2: Navigate to User Management.
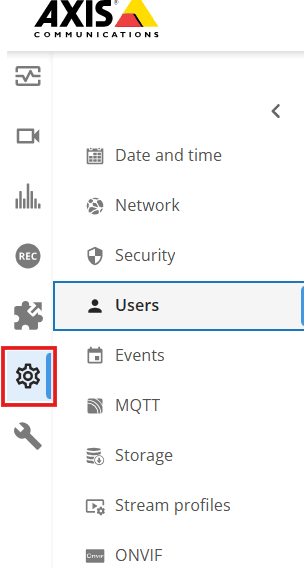
- Once logged in, go to the main menu.
- Navigate to System.
- Select Users to manage the user settings for the Axis Camera.
Step 3: Navigate to "Add User", and then add the credentials needed for NXGEN to log in to the Software with Admin or Viewer permission.
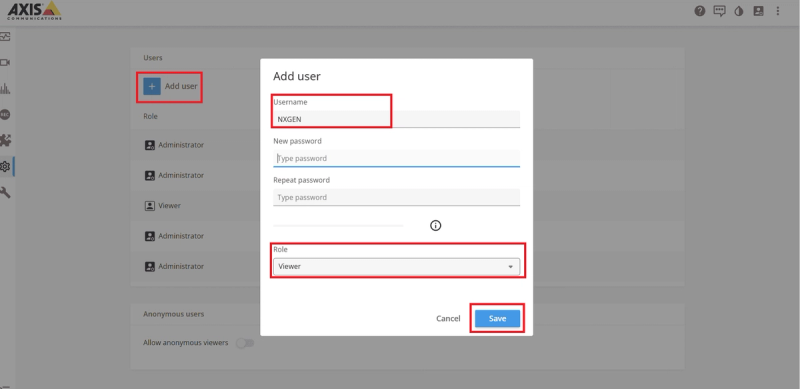
Referring to the AXIS IP camera document, the difference between each role is as mentioned below:
- Administrator: The Administrator role grants full access to the entire system, including automatic access to all cameras, I/O ports and views. Therefore, you do not need to specify any camera, I/O or view privileges for a user with this role. This role is required to configure the system.
- Operator: An Operator has access to live and recorded video of selected cameras and access to selected I/O ports and views. An operator has full access to all functionality of AXIS IP Camera except system configuration.
- Viewer: A viewer has access to live video of selected cameras and access to selected I/O ports and views. A viewer does not have access to recorded video or system configuration.
Configurations on Axis IP Camera
Step 1: Log in to the AXIS camera.
- Open your web browser and enter the IP address of the Axis Camera into the URL bar.
- Press "Enter" to navigate to the camera's login page.
- Enter your username and password.
- Click "Login" to access the camera’s settings.
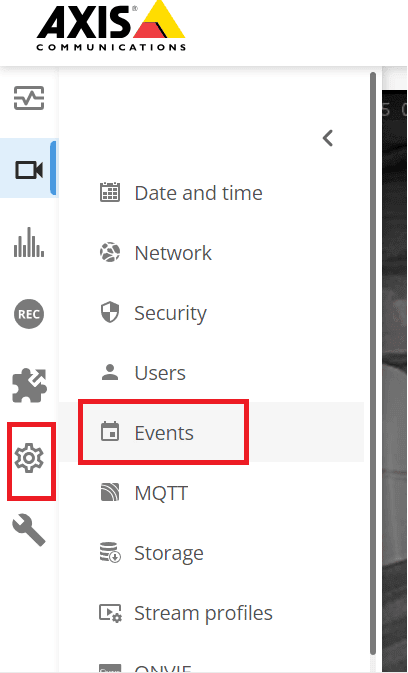
Step 2: Navigate to Event Management.
Step 3: Navigate to Recipients tab and Add recipient.
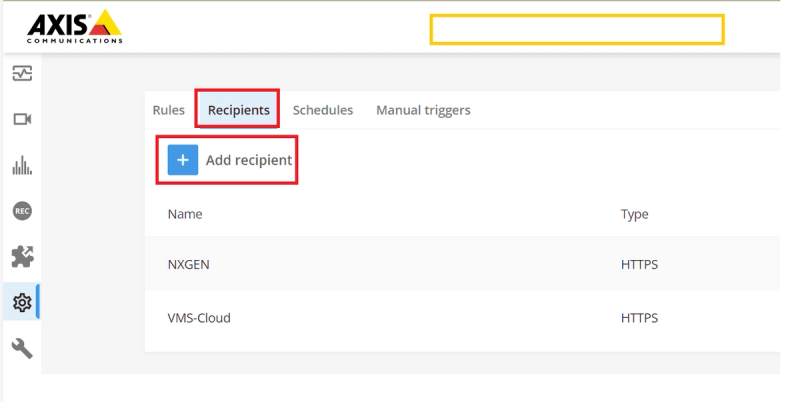
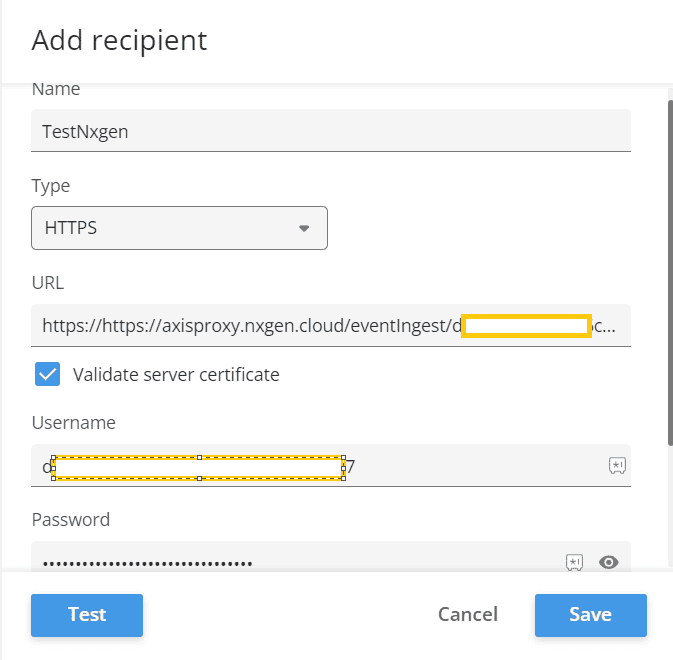
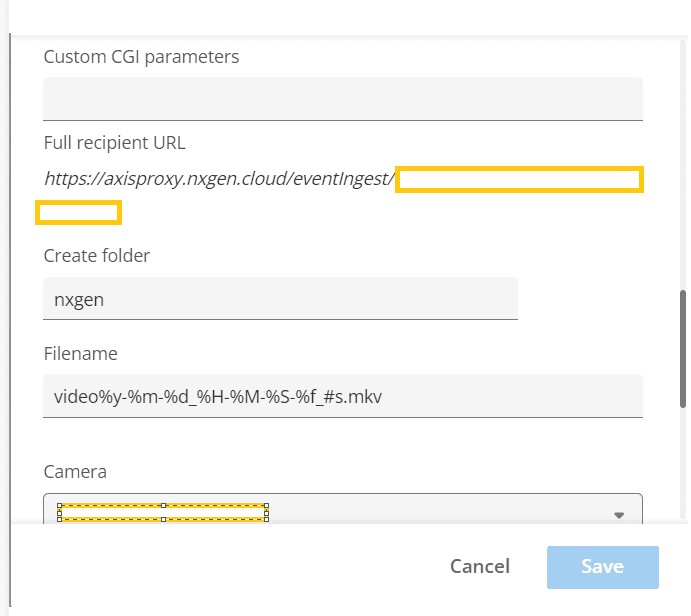
Step 4: Enter the details for the recipient as follows and Save. The recipient will be added to the list.
- Name : Any name you choose.
- Type: HTTPS.
- URL: https://axisproxy.nxgen.cloud/eventIngest/
- User Name: < nxgenDeviceId >
- Password: < nxgenDeviceId >
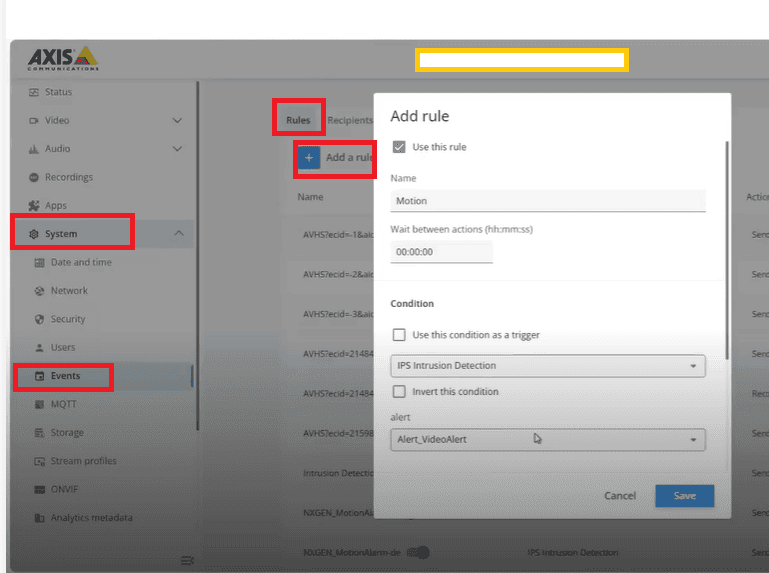
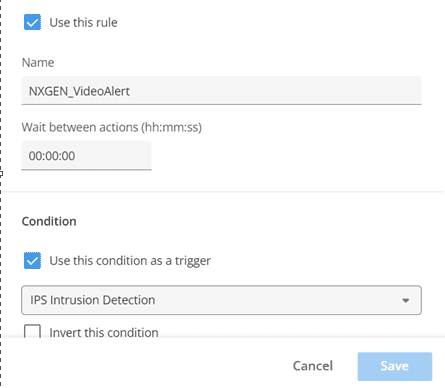
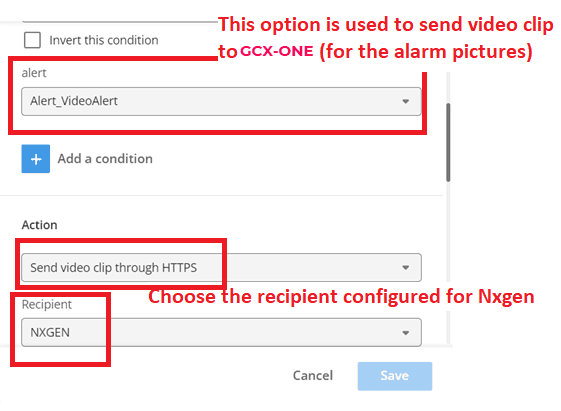
Step 5: Configure Rules:
- Navigate to the Rules tab and add a rule.
- Create a rule for each event type that must be notified to GCX-ONE.
These steps will help you have the Axis IP camera integrated into the GCX-ONE system, allowing you to manage events, configure alerts, and ensure the camera is properly monitored within your security infrastructure. By following these instructions, you will ensure seamless operation and enhanced security through effective event management.
Axis IP Camera Config Guide with GCX-ONE
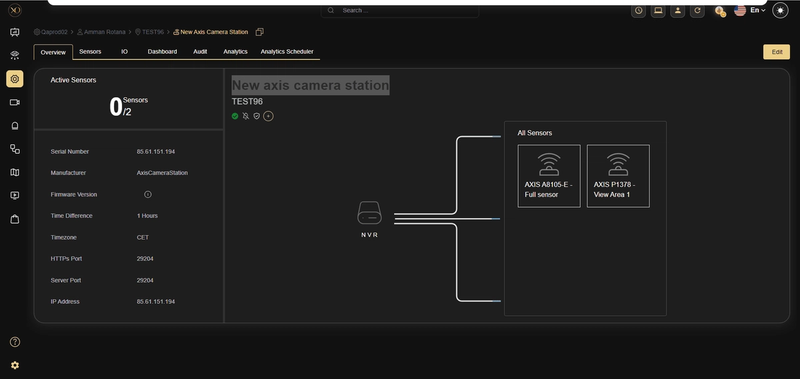
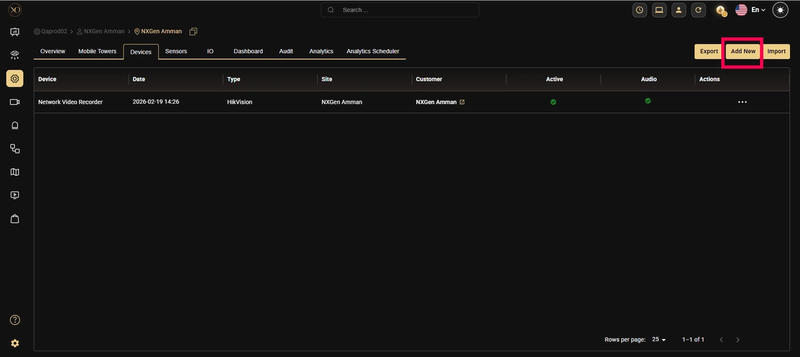
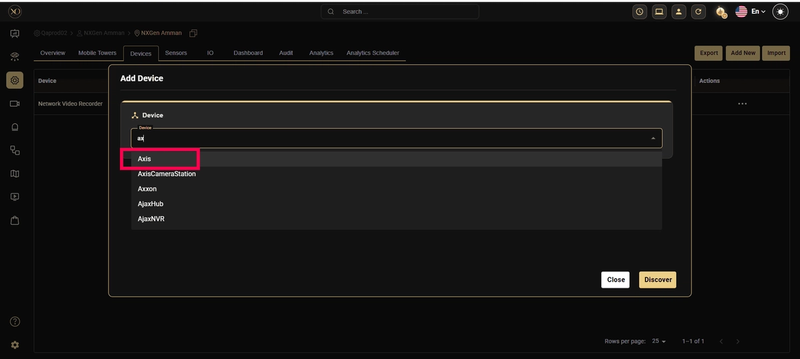
Step 1: Navigate to the Devices tab to view and manage the devices associated with the selected site.

Step 2: Click the Add button.
Step 3: In the dialog, open the Device dropdown and select Axis
Step 4: Enter all required fields: Name, IP Address or Host, Username, Password, Control port, RTSP Port, Server port, Https Port.
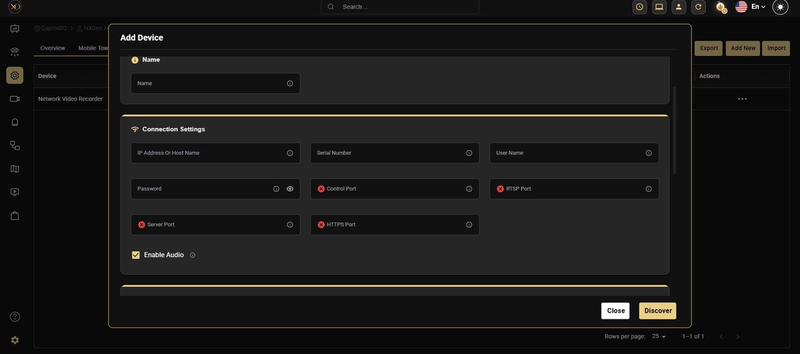
The Control Port defaults to 80 if no value is entered. Ensure that this port is open on your firewall.
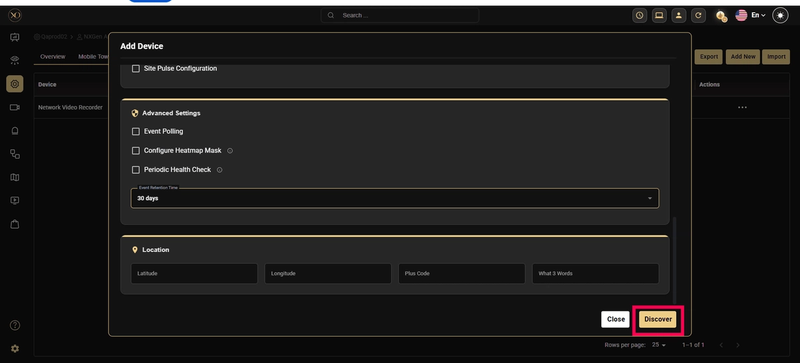
Step 5: Click Discover.
Step 6: Once the device is successfully discovered, click Save.
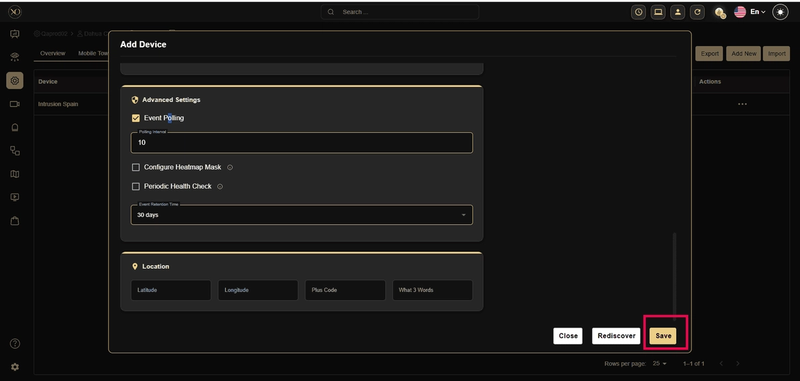
Step 7: Note the NxgenDeviceId from the Unique Reference Number: