Milestone GCX-ONE
Introduction
Milestone servers are treated as NVR devices in GCX-ONE. Since Milestone is a VMS platform, additional configuration steps are required.
GCX-ONE uses the same Milestone SDK as the Milestone XProtect Smart Client.
To verify connectivity: Attempt a remote connection (outside the local network) using the Milestone XProtect Smart Client. If video streaming works successfully, GCX-ONE will also be able to connect.
Milestone Configuration
Required Ports
Ensure the following ports are open on the Milestone server:
- 80, 443 – Management Client
- 7563 – Streaming Port
- 8081 – Web Client
- 22331 – Event Service
Authentication Requirements
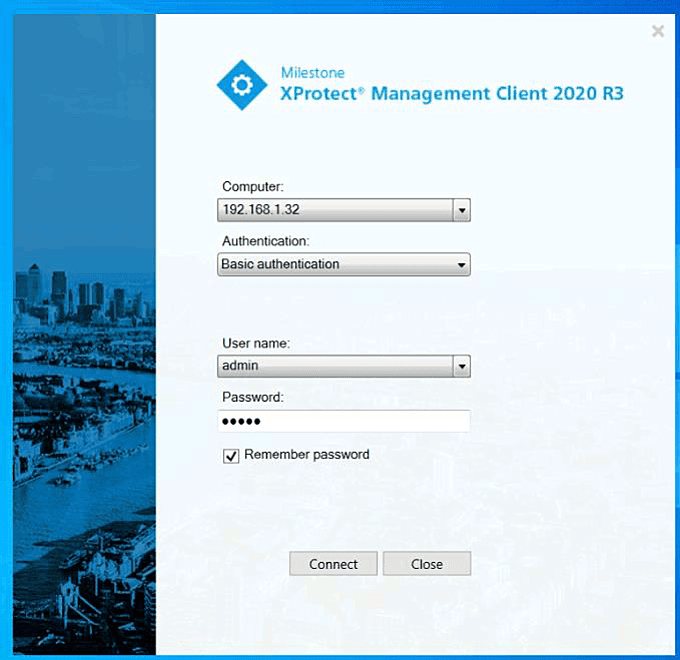
Users must be able to log in to the Management Client using:
- Windows Authentication
- Basic Authentication
Note: If no VPN or direct IP connection is used, Windows or Basic authentication must be enabled. The user must have administrative privileges.
Note: Use XProtect Smart Client 2021 R1 with the latest hotfixes applied.
Recording Server Settings
On the Milestone server, open the Management Client and navigate to:
Recording Server → Network (bottom-right section).
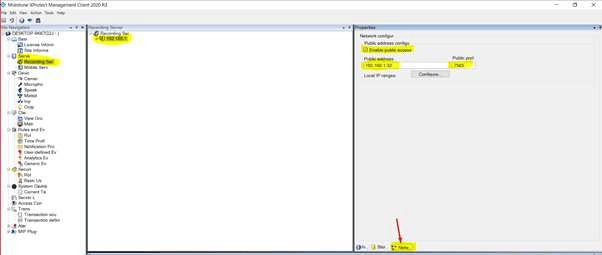
Ensure that the IP Address or DDNS and the Streaming Port (7563) are properly configured.
Ensure that the user has the required permissions enabled.
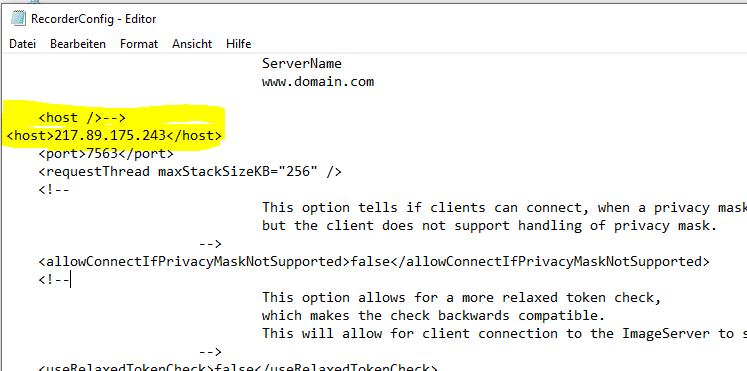
Additionally, ensure that the IP address of the recording server is defined in the RecorderConfig file on the Management Server machine. Otherwise, DNS resolution issues may occur, and remote video streaming may not function properly.
Device addition in GCX-ONE must be performed using the same credentials that are used in the Milestone Management Client (refer to the attached image for reference).
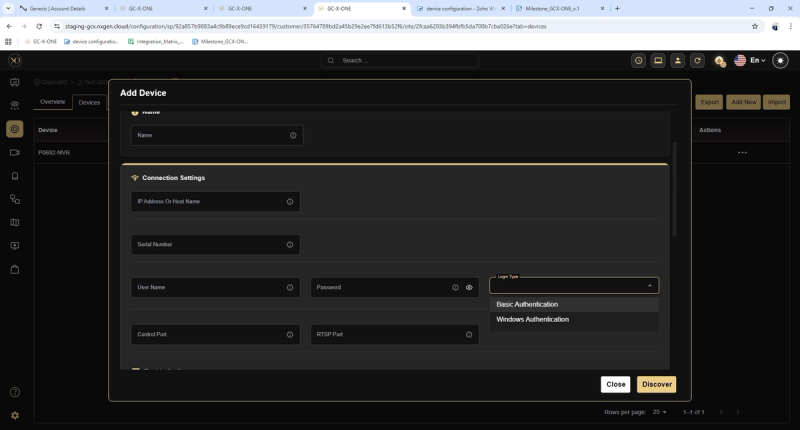
After this procedure, the device can be configured with GCX-ONE.
Note: Device configuration in GCX-ONE is only possible if the user can successfully log in to the Management Client with the required privileges.
Milestone GCX-ONE Config Guide with GCX-ONE
Steps to configure a Milestone device in GCX-ONE:
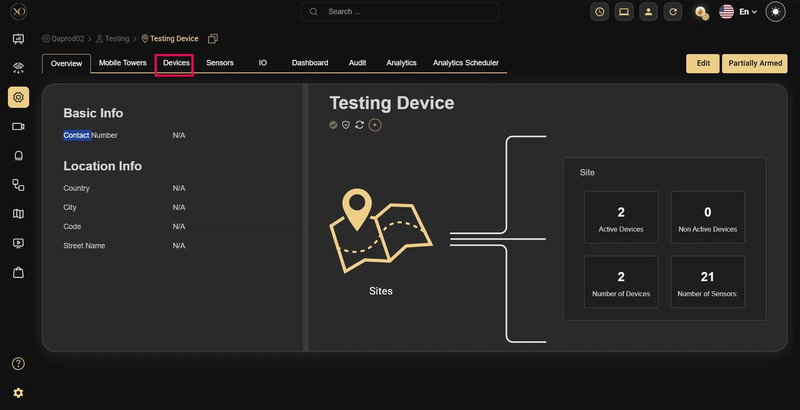
Step 1: Navigate to the Devices tab.
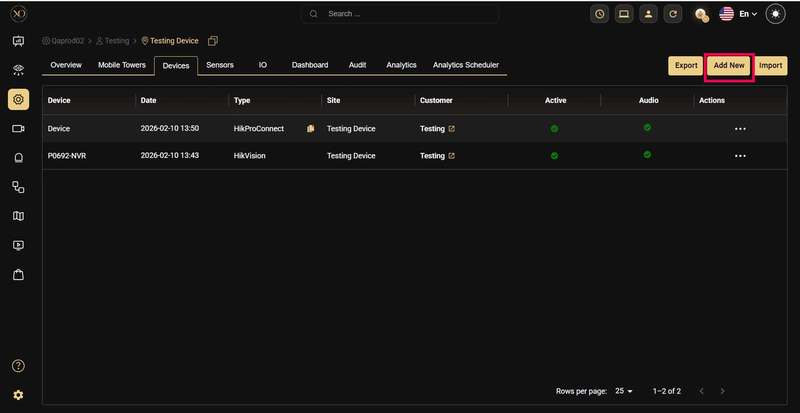
Step 2: Click the Add button.
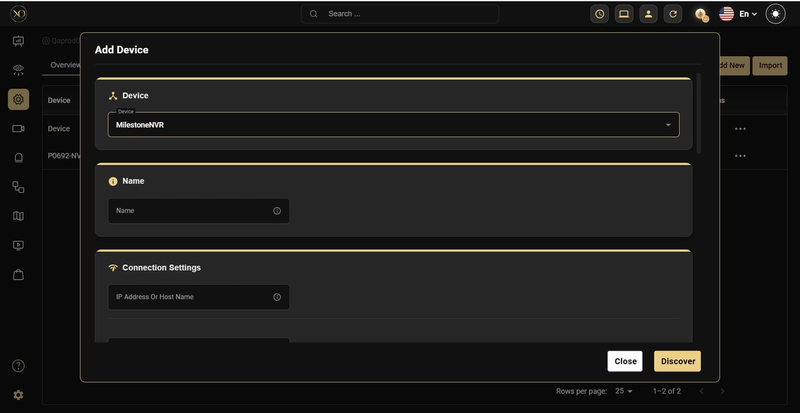
Step 3: The Add Device dialog will be displayed.
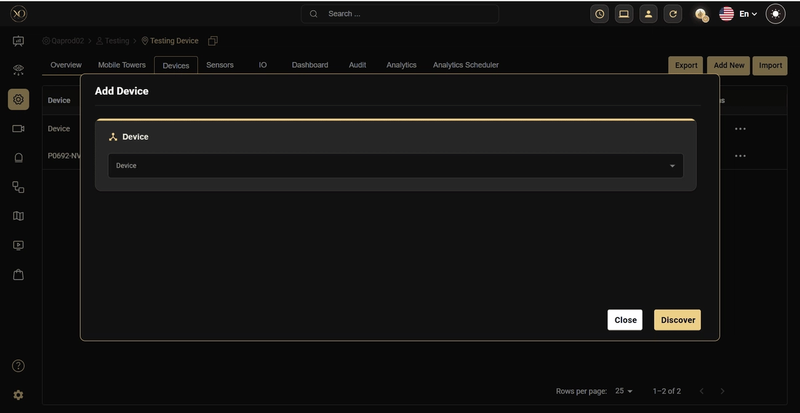
Step 4: In the dialog, open the Device dropdown and select Milestone NVR.
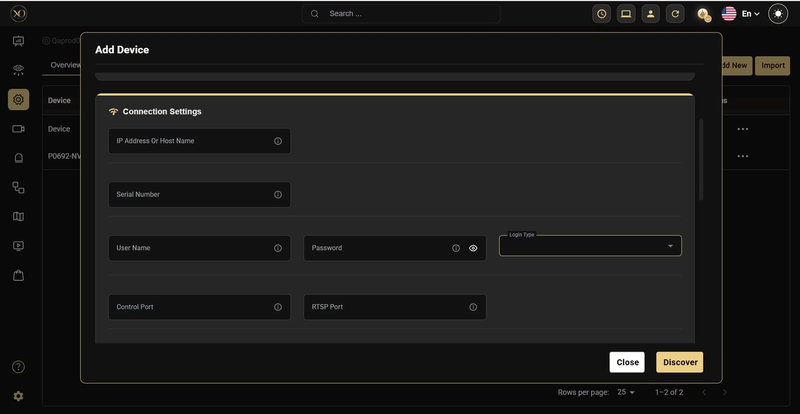
Step 5: Enter all required fields: Name, IP Address or Host, Username, Password.
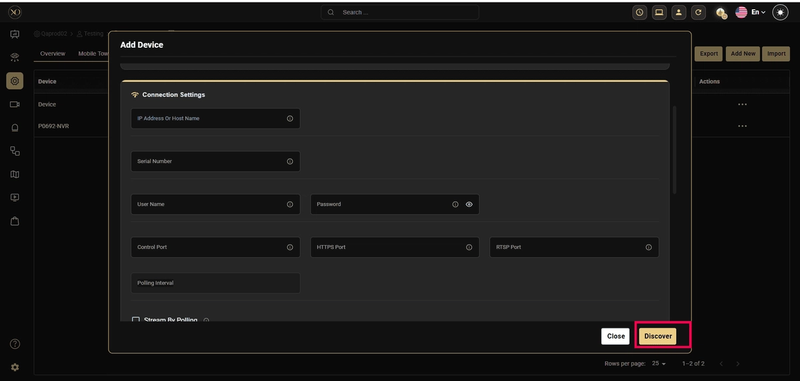
Step 6: Click Discover.
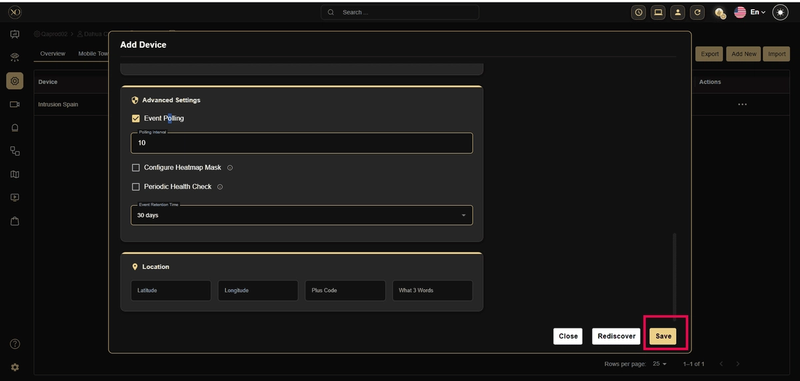
Step 7: Once the device is successfully discovered, click Save.
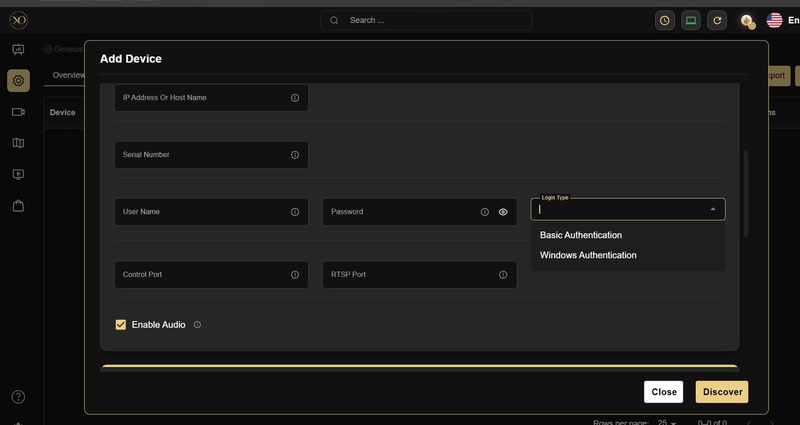
Note: The user must select the appropriate authentication type when adding the Milestone device.
Alarm Configuration
GCX-ONE can monitor both alarms and events from Milestone. By default, listening is enabled only for Milestone alarms, as most customers configure specific event rules. Contact NXGEN Support if event listening needs to be enabled.
Customer-defined alarms must be set up in the GCX-ONE alarm mapping table.
in the GCX-ONE alarm mapping table. Ensure consistent naming across Milestone servers. During the initial set up of the Milestone receiver, provide NXGEN Support with a list of your alarm events. NXGEN Support will then add these to the alarm mapping table. If new events are added, notify NXGEN Support so that the changes can be applied.
If the alarm is not mapped, it will appear as General Alarm in Talos.
Step 1: Connect to the Milestone Server.
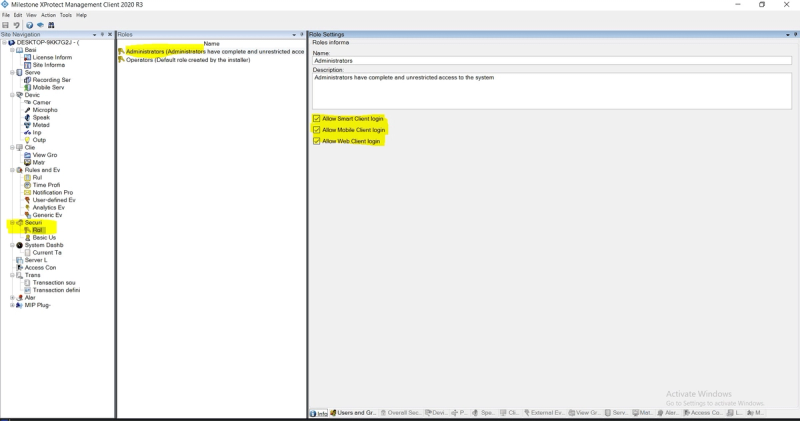
Step 2: Open the Milestone XProtect Management Client and log in.
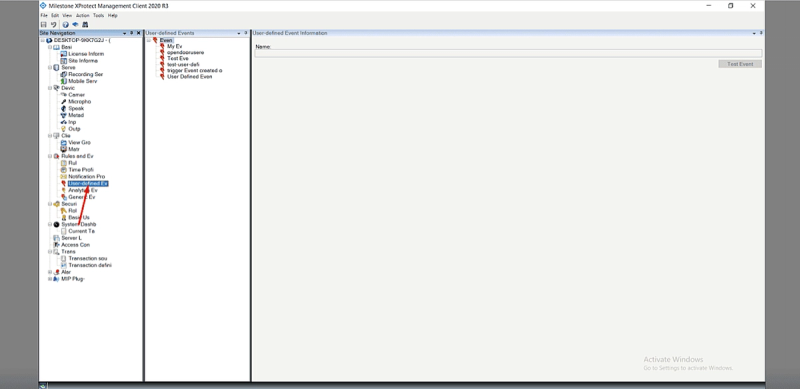
Step 3: Select Rules and Events from the menu.
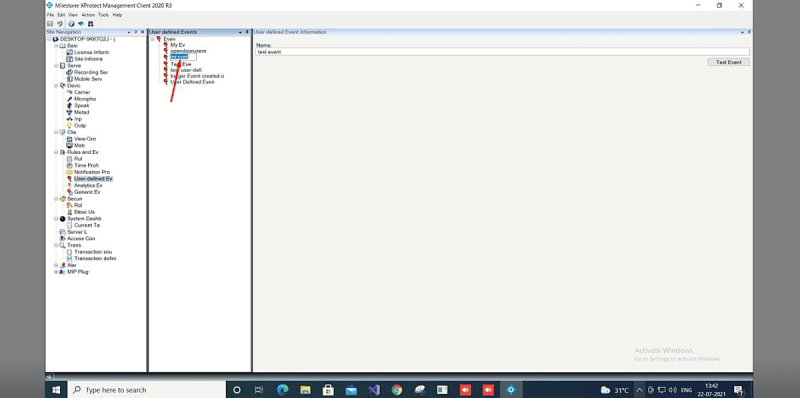
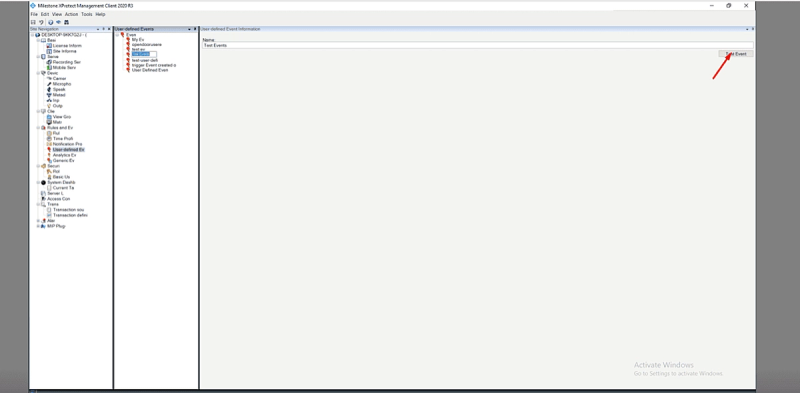
Step 4: Select User-Defined Event.
Step 5: Right-click and select Add User-Defined Event.
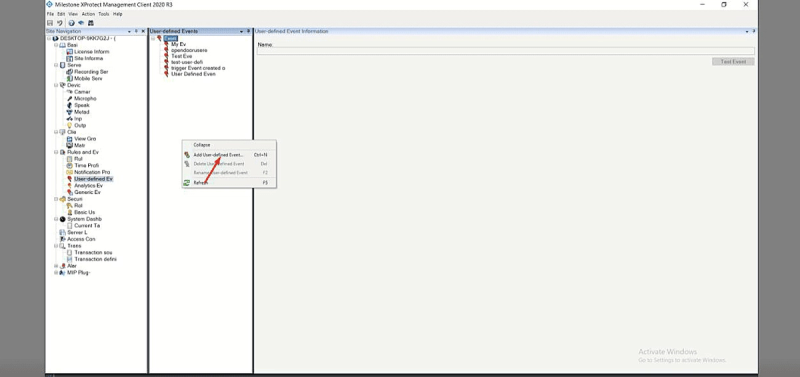
Step 6: Enter the event name and click OK to save.
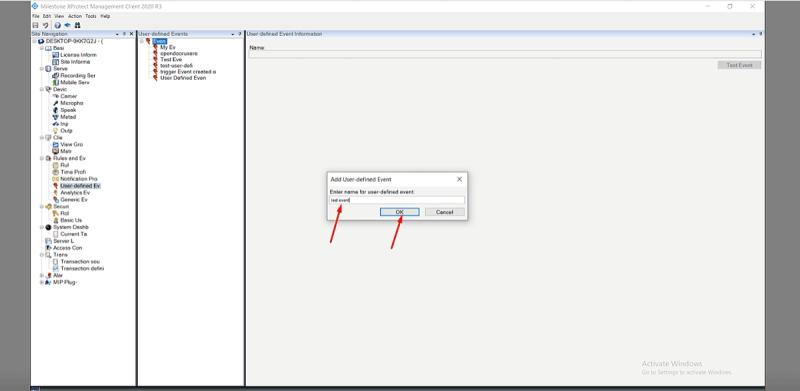
The event will be added to the list.
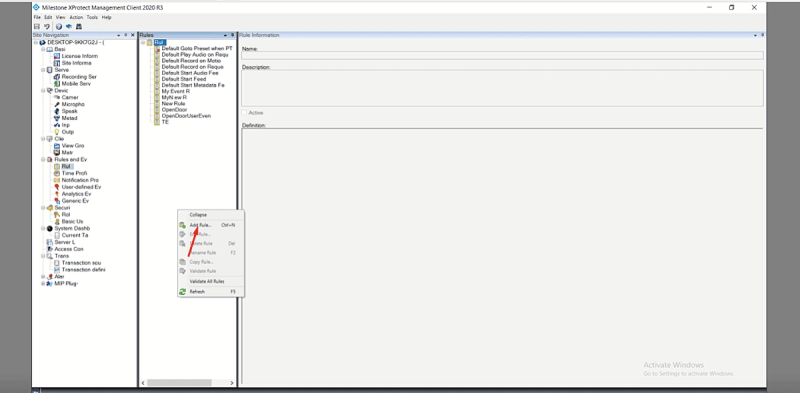
Step 7: Select Rules from the left menu.
Step 8: Select the required event to create the corresponding rule.

Step 9: Right-click and select Add Rule.
Step 10: Enter a name for the rule.
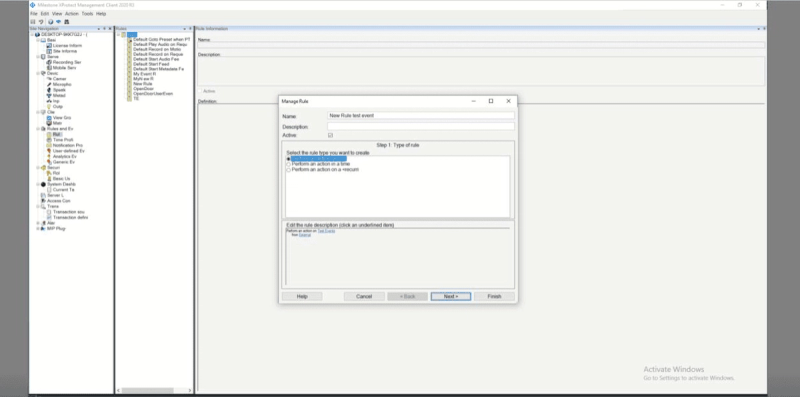
Step 11: In Step 1, select the type of rule.
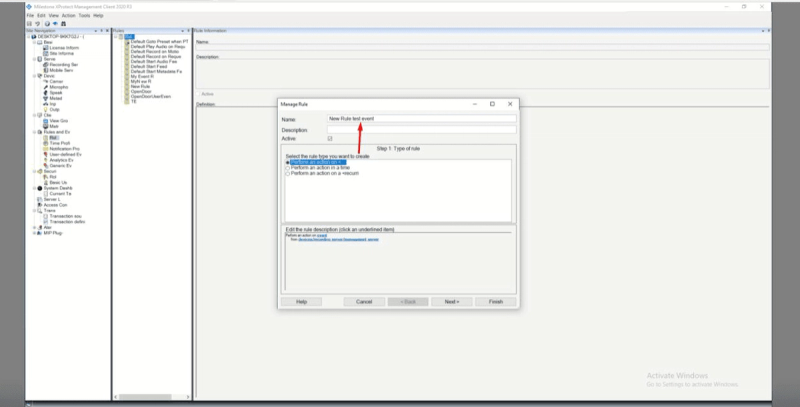
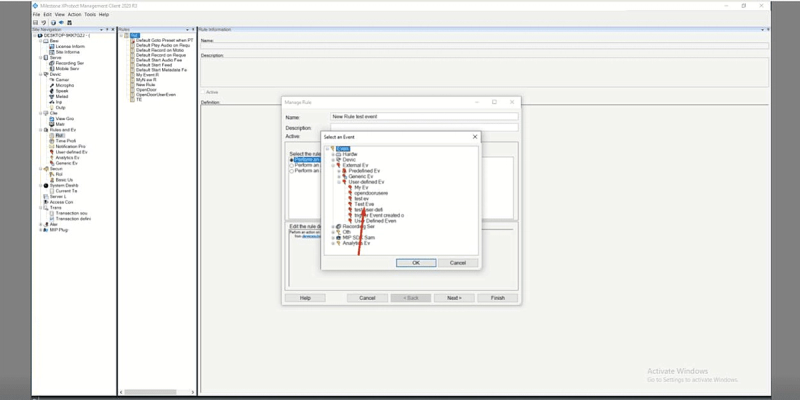
Step 12: Select the event and click Next.
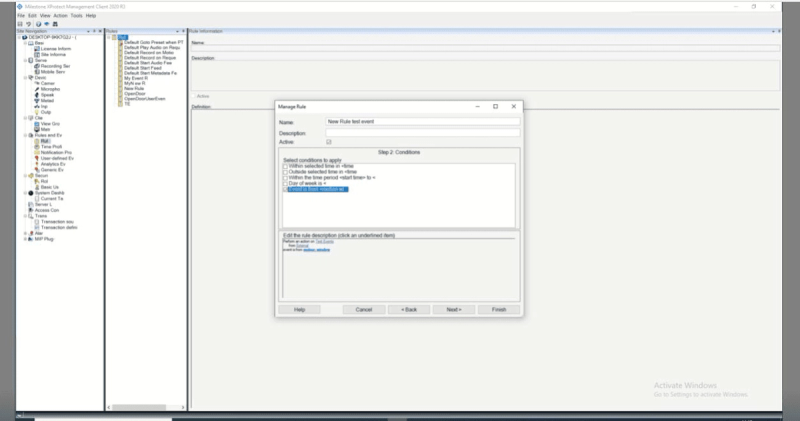
Step 13: In Step 2, select a condition to be applied and click Next.
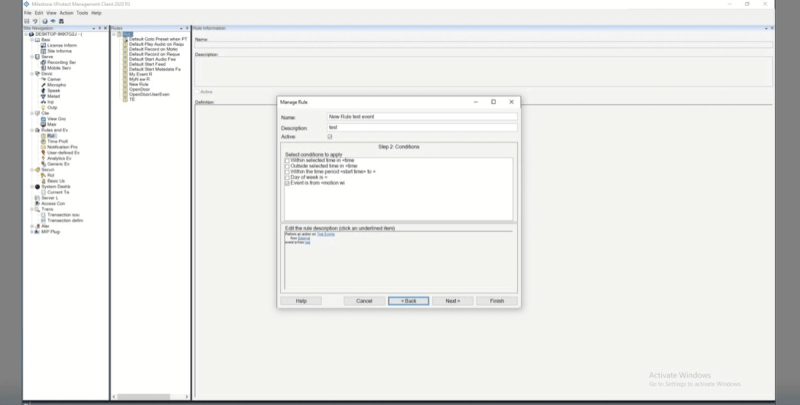
Step 14: In Step 3, configure the required condition and click Next.
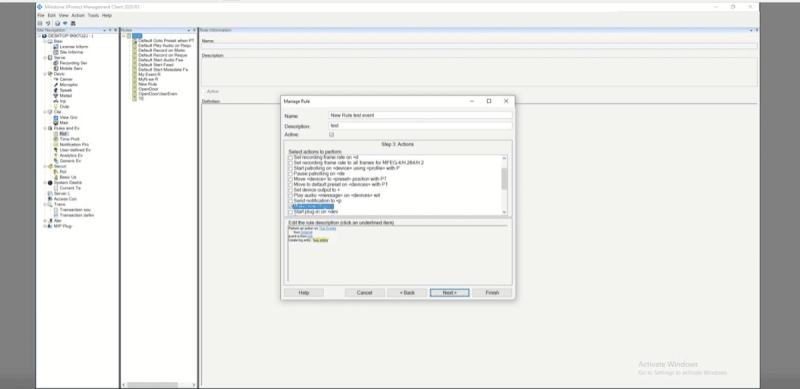
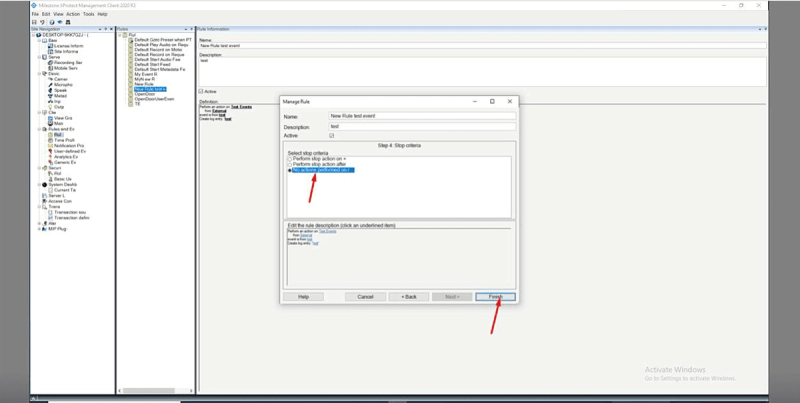
Step 15: In Step 4, select the stop criteria and click Finish.

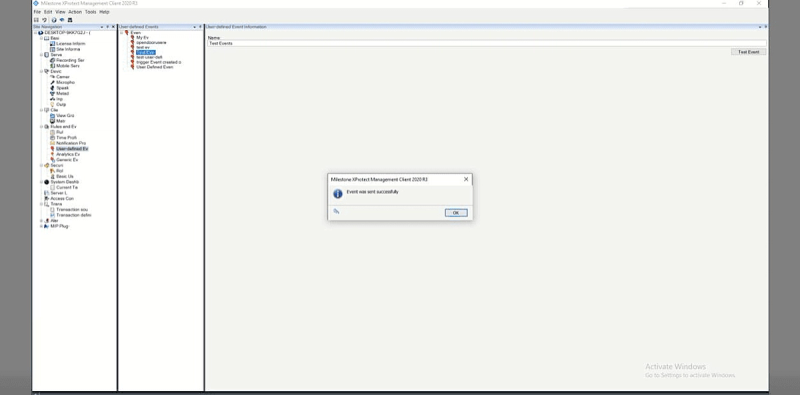
Step 16: To trigger an event, select the event and click Test Event.
The event will be triggered.
Step 17: Select Server Log to verify the triggered event logs.
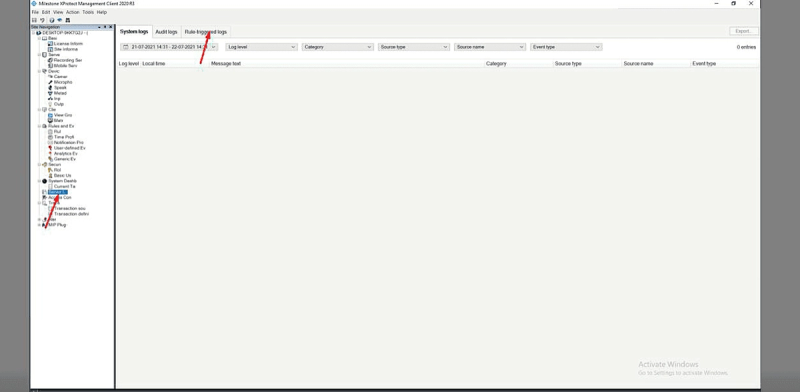
The log will be listed as shown in the reference image.

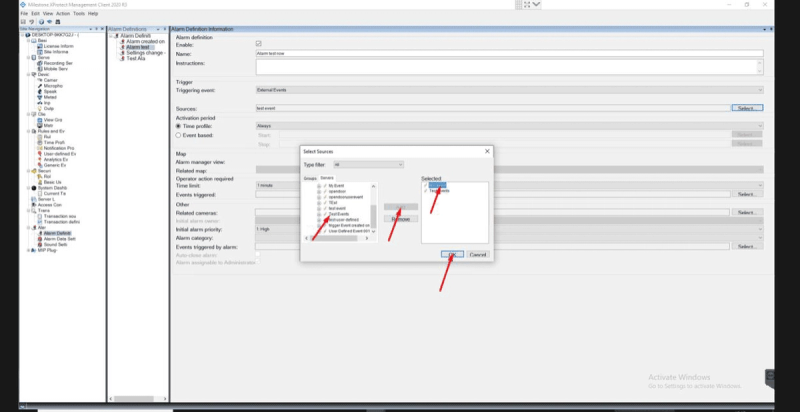
Step 18: Select Alarm from the left menu.
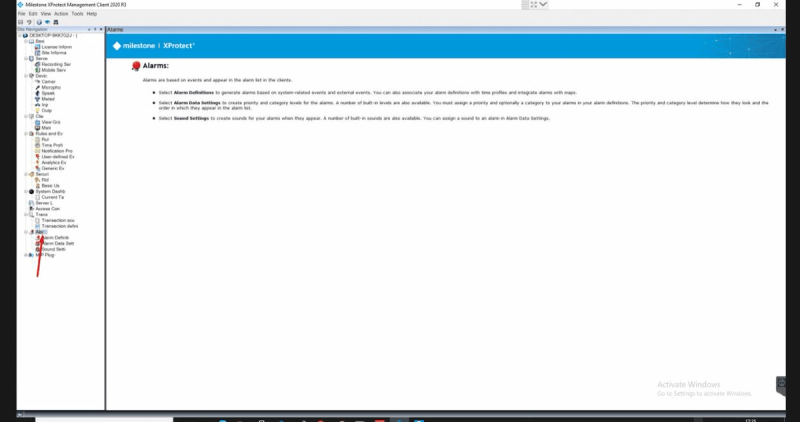
Step 19: Select Alarm Definition from the submenu.
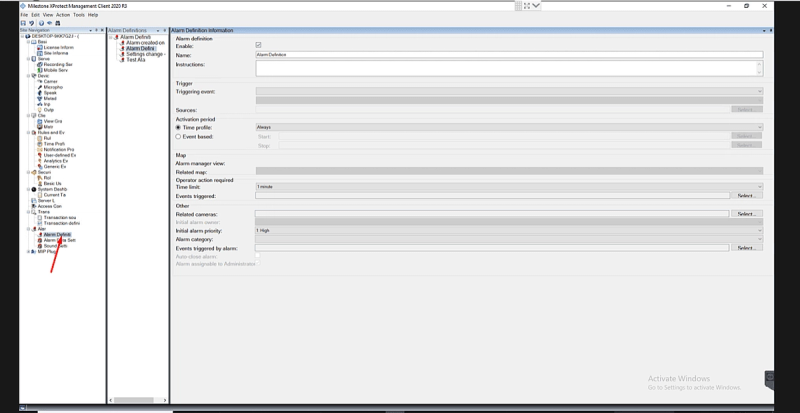
Step 20: Enter a name for the alarm.
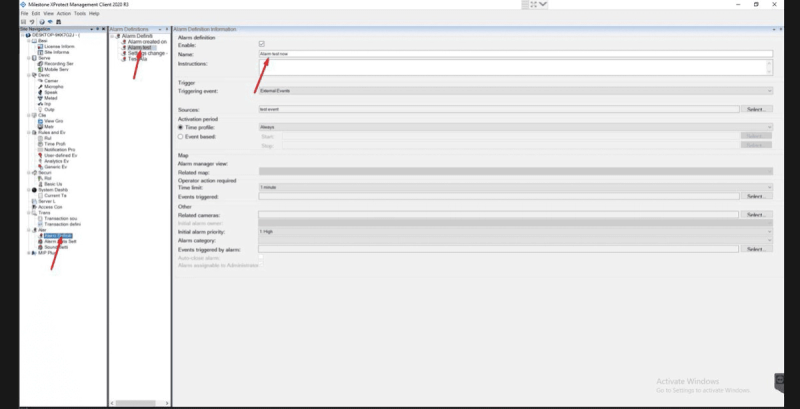
Step 21: From the Triggering Event list, select the required event.

Step 22: Select a source. Under Servers, select the event that needs to be appended, then click OK.

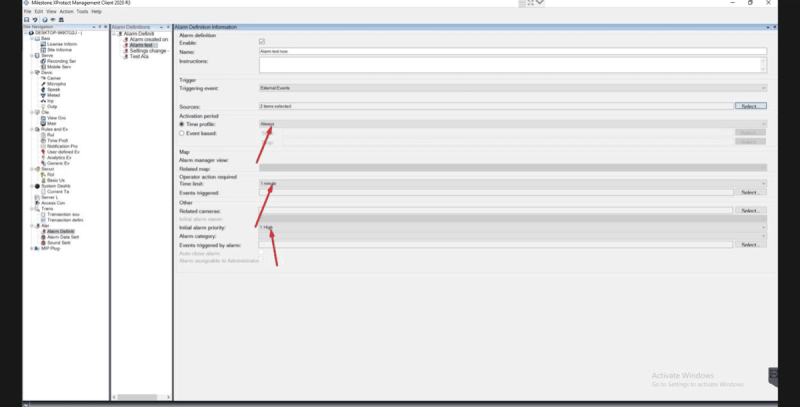
Step 23: Configure the required time settings:
- Time schedule
- Time limit
- Priority
Step 24: Click Save (top-left corner) to apply the configuration.
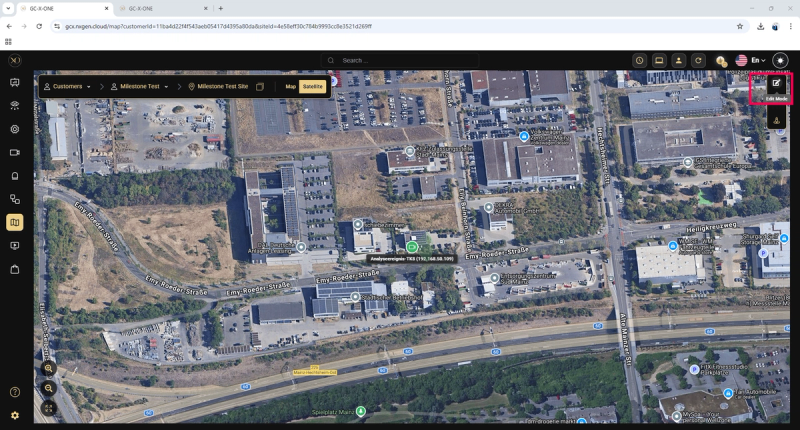
Step 25: Log in to GCX-ONE.
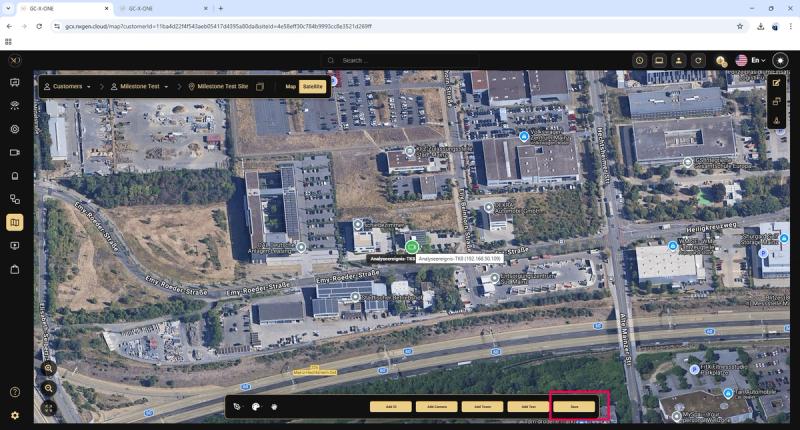
Step 26: Navigate to the Map view.

Step 27: Select the required customer and click Edit Mode.
Step 28: At the bottom of the screen, click Add.
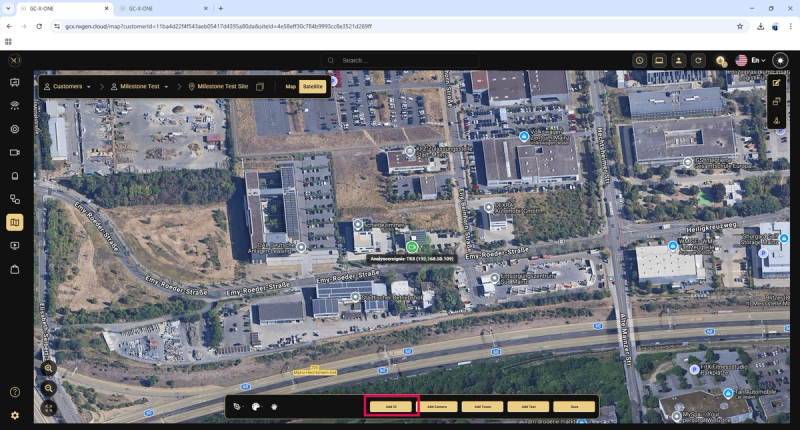
Step 29: From the dropdown menu, select the required device.
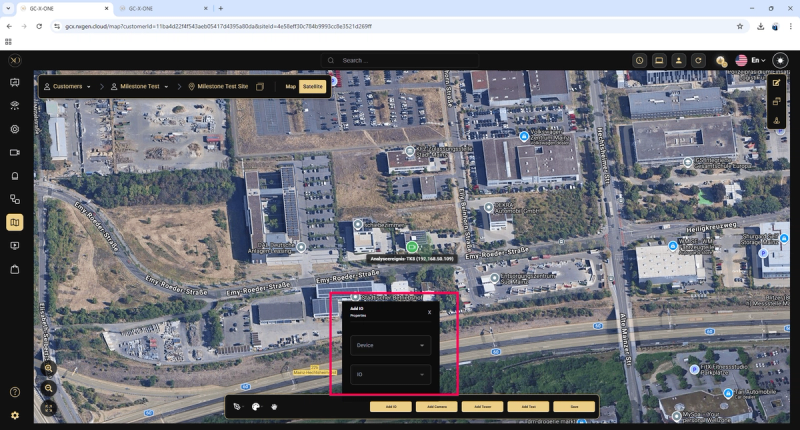
Step 30: Click Save to confirm and add the I/O to the map.