Eagle Eye
Introduction
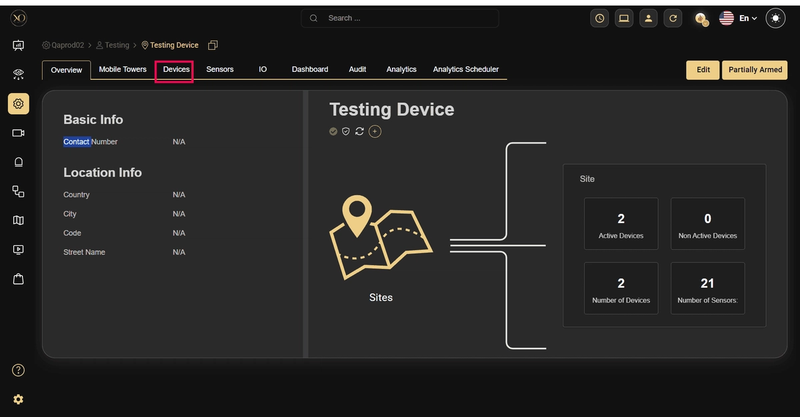
This guide describes the required client-side configuration and GCX-ONE-side onboarding steps to integrate Eagle Eye Networks with the GCX-ONE platform. The integration uses Eagle Eye Bridge identifiers to discover securely and register devices in GCX-ONE.
Eagle Eye Configuration
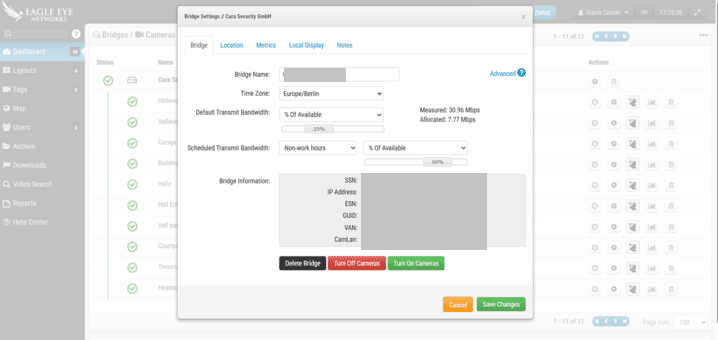
Bridge Settings
This section provides hardware, network, and identification details of the selected Eagle Eye Bridge. These parameters are required for validation and onboarding in GCX-ONE.
| Parameter | Description |
|---|---|
| SSN (System Serial Number) | Unique serial number assigned to the Eagle Eye Bridge hardware. |
| IP Address | Local IP address assigned to the bridge within the internal (LAN) network. |
| ESN (Equipment Serial Number) | Mandatory identifier required to add the device into GCX-ONE. |
| GUID (Global Unique Identifier) | Cloud-level unique identifier used by Eagle Eye to identify the device globally. |
| WAN | 1000 Mb/s – Uplink interface supporting Gigabit Ethernet connectivity. |
| CamLAN | 1000 Mb/s – Camera LAN interface supporting high-throughput camera traffic. |
| CamLAN+ | Confirms support for up to 1000 Mb/s, enabling multiple high-resolution camera streams without congestion. |
Ensure the bridge has stable WAN connectivity and is successfully registered in the Eagle Eye Cloud before proceeding with GCX-ONE onboarding.
Prerequisites
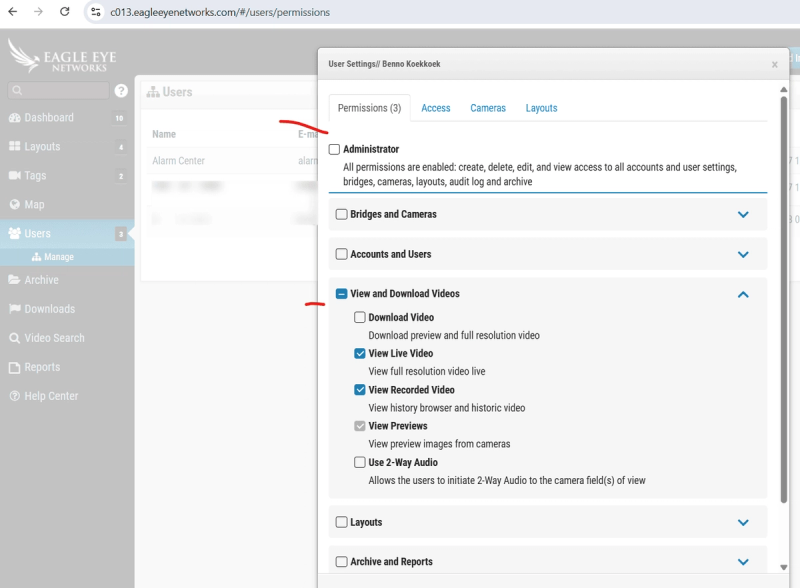
The following user-level settings must be validated before integration:
- A valid Eagle Eye Cloud user account with administrative privileges at the reseller level or customer level.
- Permission to:
- View bridge details (ESN, GUID).
- Manage devices and camera assignments.
- The bridge must be in an Online / Connected state.
- Time synchronization (NTP recommended) must be enabled on the bridge.
Eagle Eye Config Guide with GCX-ONE
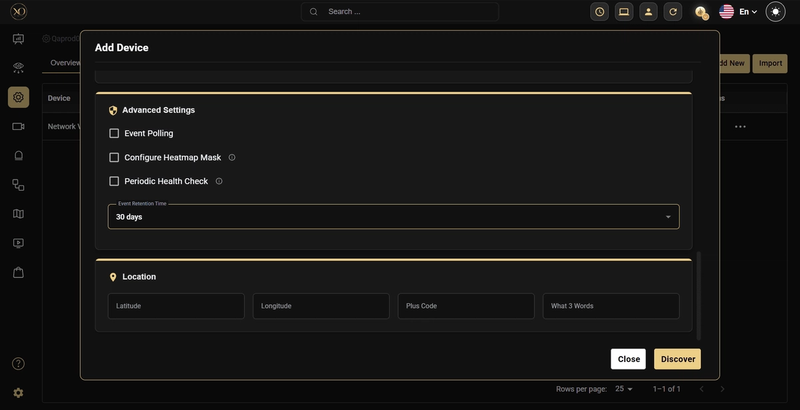
Step 1: Navigate to the Devices tab.
Step 2: Click the Add button.
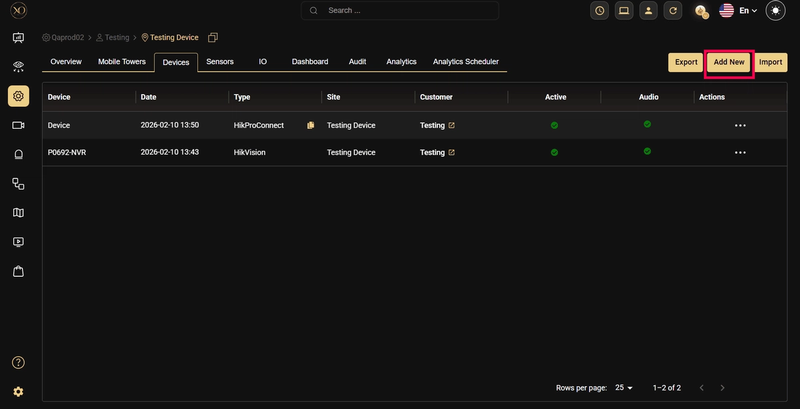
Step 3: The Add Device dialog will be displayed.
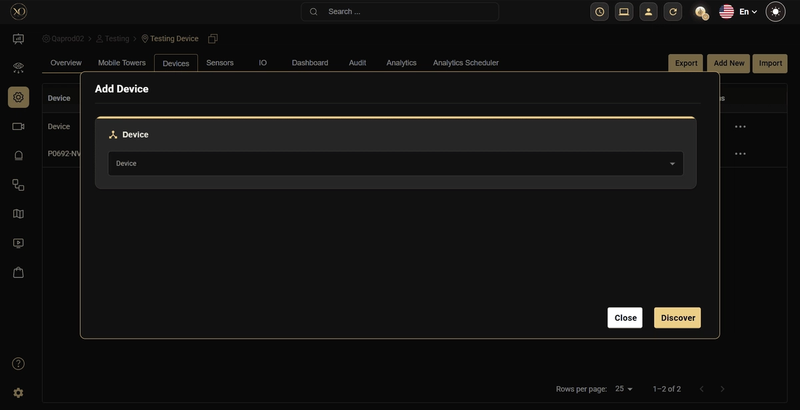
Step 4: In the dialog, open the Device dropdown and select Eagle Eye.
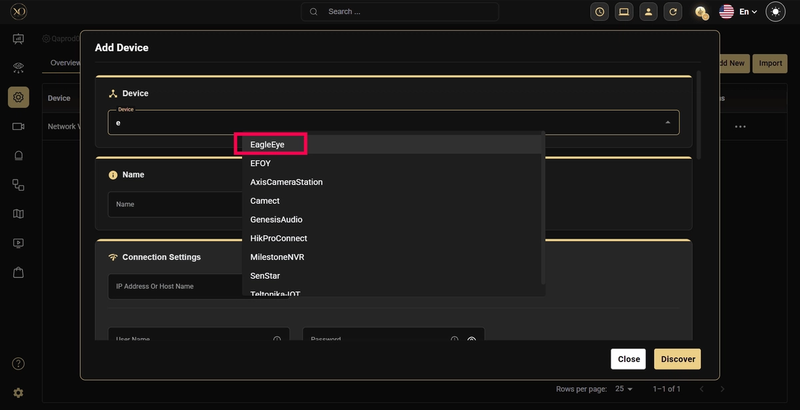
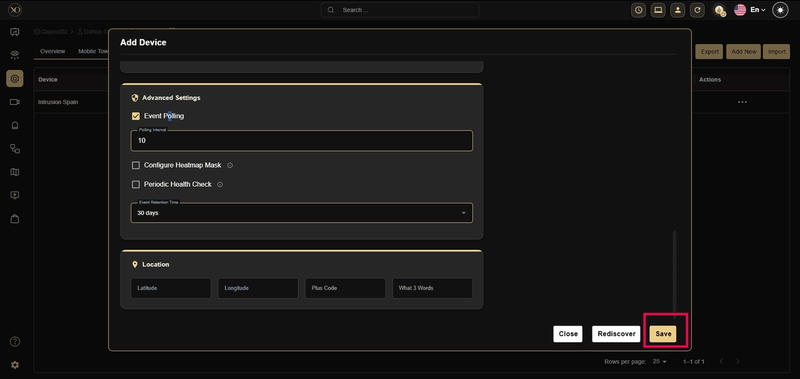
Step 5: Enter the required Eagle Eye identifiers: name, Serial No (ESN), user name / password.
Step 6: Click Discover to initiate device validation and cloud handshake with Eagle Eye
Step 7: Once the device is successfully discovered, click Save.
Post-Integration Validation
After successful onboarding, verify the following in GCX-ONE:
- Device status shows Online
- Cameras are visible and correctly mapped
- Live stream is accessible
- Alarms are received properly (if the device is armed)
Discovery may fail if:
- The ESN is incorrect or not cloud-registered
- The Bridge is offline
- A firewall is blocking outbound connectivity
Additional Notes:
- A single Eagle Eye Bridge can support multiple cameras — ensure bandwidth is sized appropriately for your camera resolution and frame rate.
- Keeping camera names consistent between Eagle Eye and GCX-ONE is recommended for operational clarity.
Troubleshooting
If discovery or onboarding fails, work through the following steps:
- Revalidate ESN and GUID in the Eagle Eye Cloud portal to confirm they are correct and active.
- Confirm WAN connectivity from the Bridge to ensure it has a stable outbound internet connection.
- Verify GCX-ONE user permissions to ensure the account has the necessary access to manage devices.
- Contact platform support if the issue persists — provide the bridge identifiers and site details to expedite resolution.